Getting started with your
XPPen Artist 12 3rd
Follow these steps to start creating on your
XPPen Artist 12 3rd.


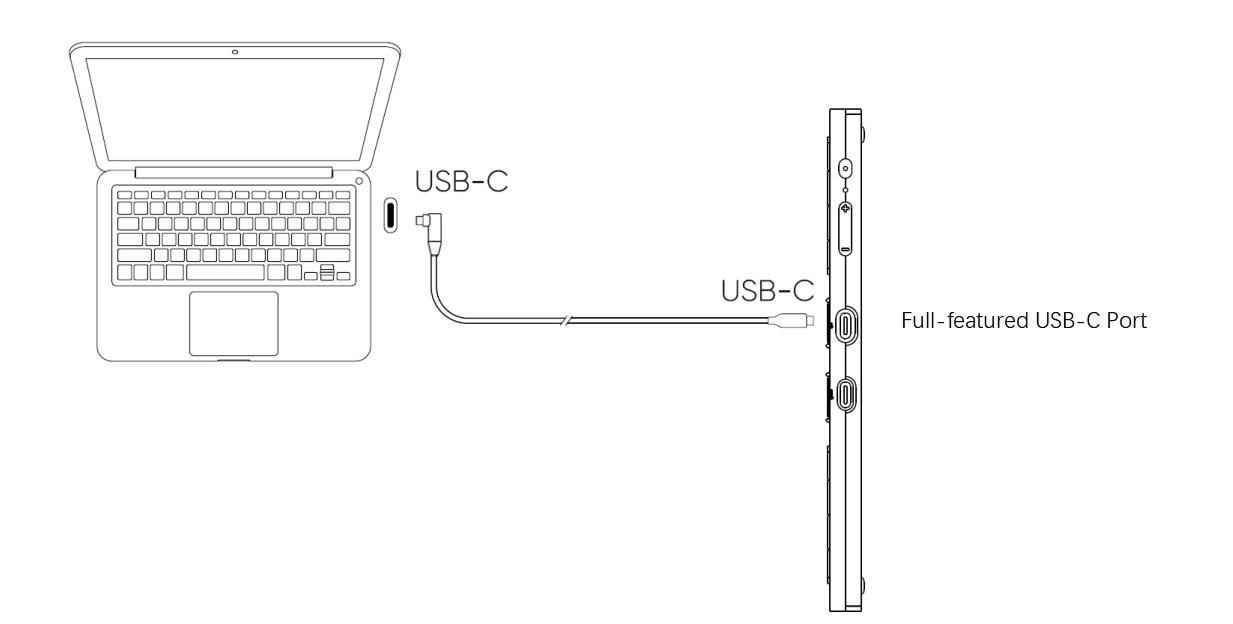
1. Ensure your computer has a USB-C port supporting video output;
2. Insert one end of the USB-C to USB-C cable into the full-featured USB-C port 
3. Insert the other end of the USB-C cable into a USB-C port that supports DisplayPort output on your computer.
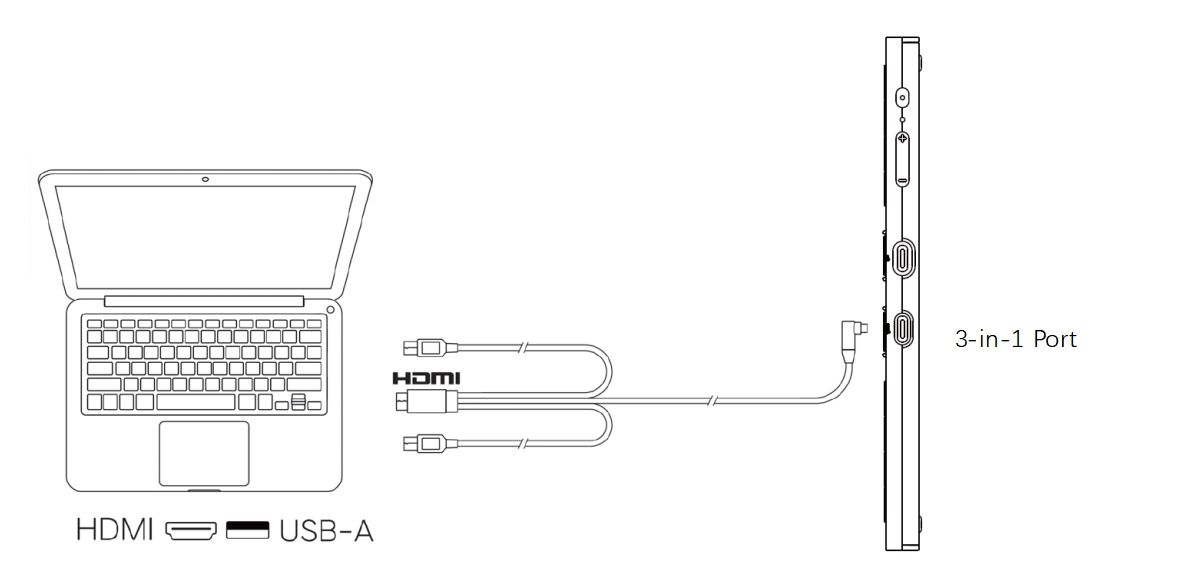
1. It is recommended to use the computer's discrete graphics HDMI port (if available);
2. Insert the USB-C cable into the 3 in 1 port 
3. Insert the black USB-A and HDMI cables into their respective ports on your computer.
4. lf the screen flickers or does not power on, also connect the red USB-A plug to the power adapter for power supply.
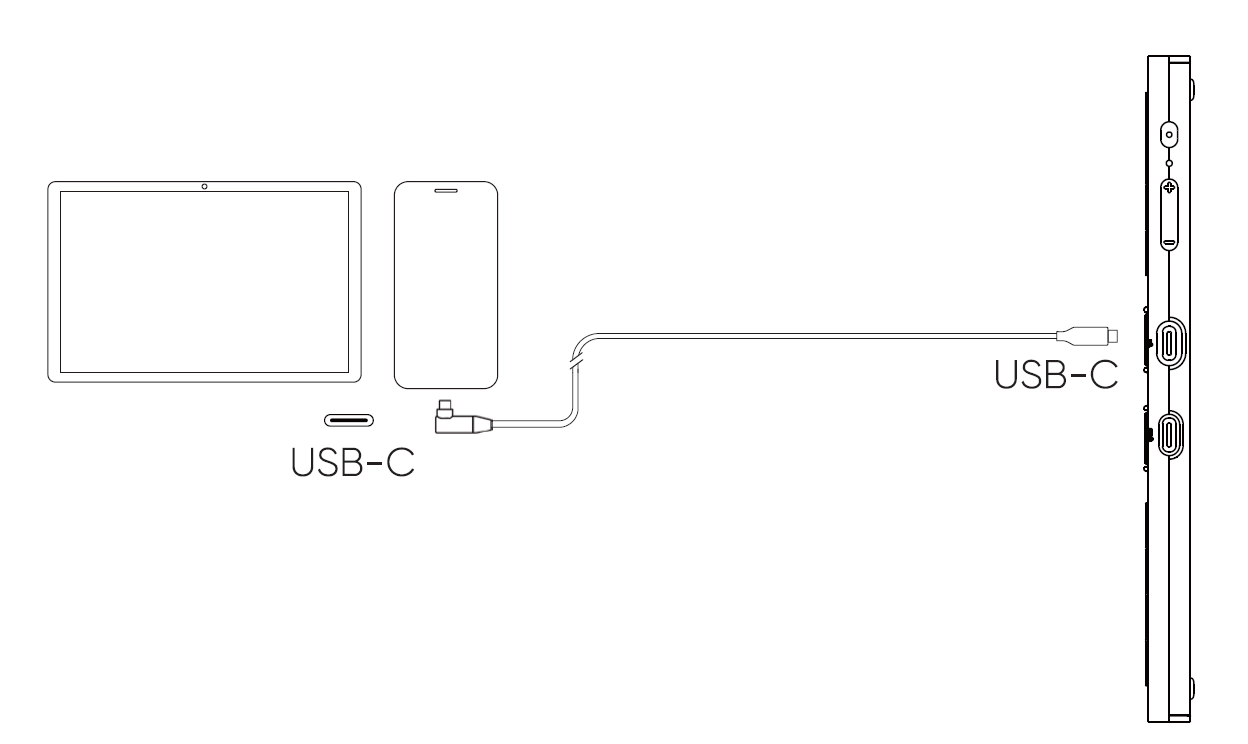
1. It is recommended to use an Android device that supports "desktop mode". Please refer to the official website for specific models.
2. Insert one end of the USB-C to USB-C cable into the full-featured USB-C port
3. Insert the other end into a USB-C port that supports DisplayPort output on your Android device.
4. If the mobile device does not supply sufficient power, please use the 3-in-1 cable to connect the power adapter to the 3-in-1 port labeled