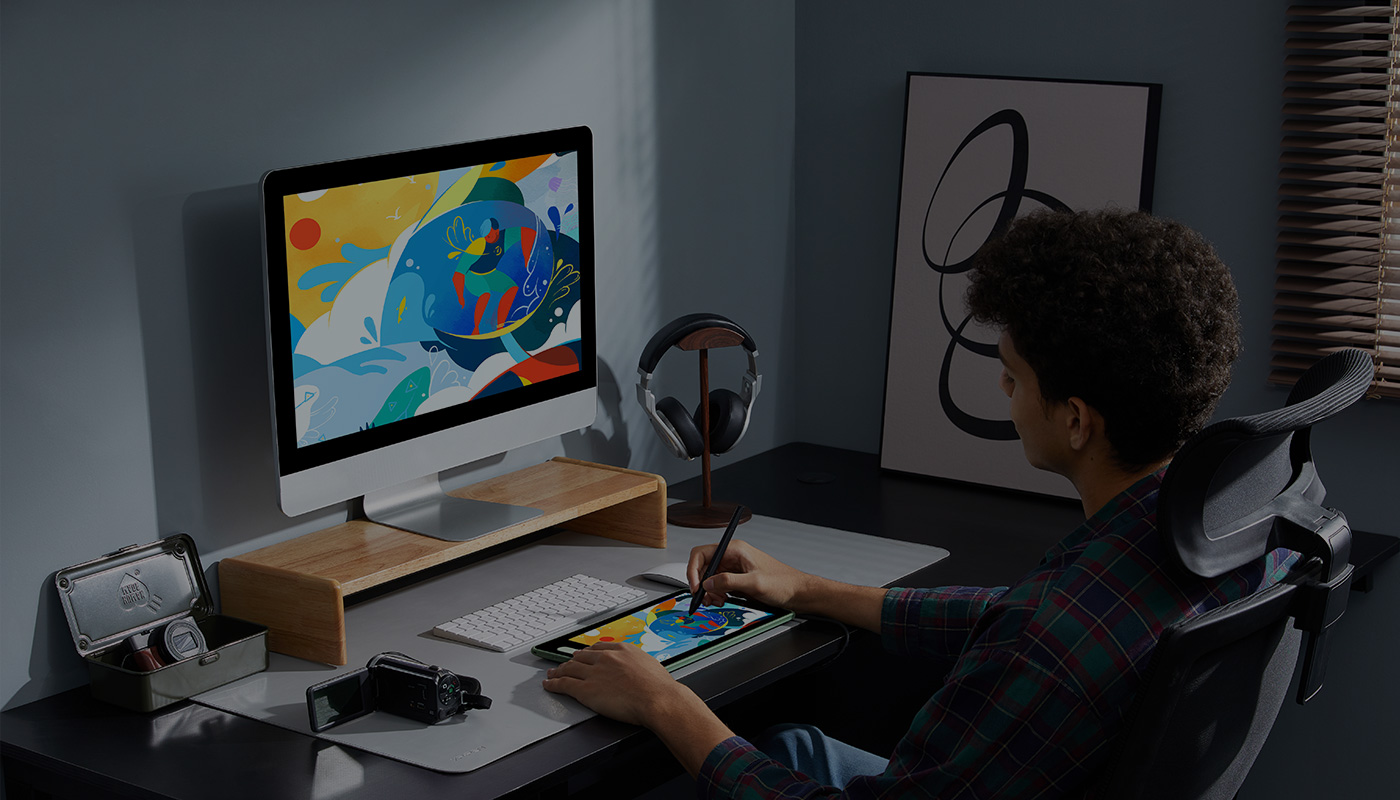
Getting started with your
XPPen Artist 10 (2nd Generation)
Follow these steps to start creating on your
XPPen Artist 10 (2nd Generation).
Follow these steps to start creating on your
XPPen Artist 10 (2nd Generation).

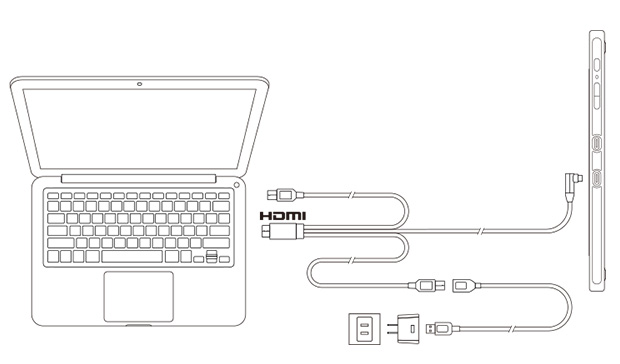
Connect the cables.
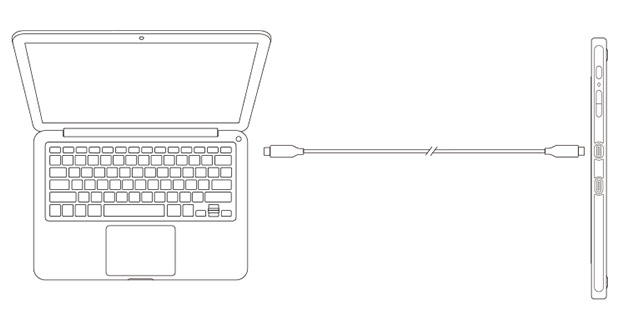
USB-C connection
Connect the pen display to your computer via the USB-C to USB-C Cable.
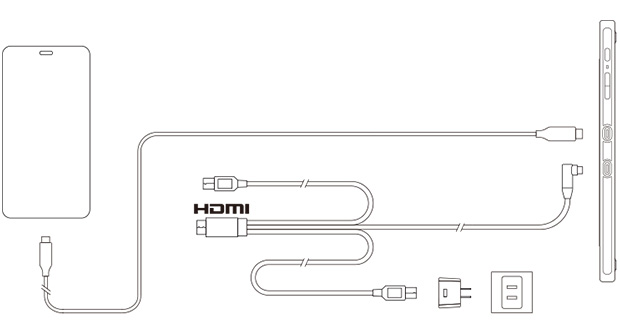
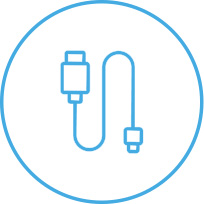
3-in-1 cable connection
a. Plug the USB cable into the display, then, plug the HDMI and black and red USB cords into your computer.
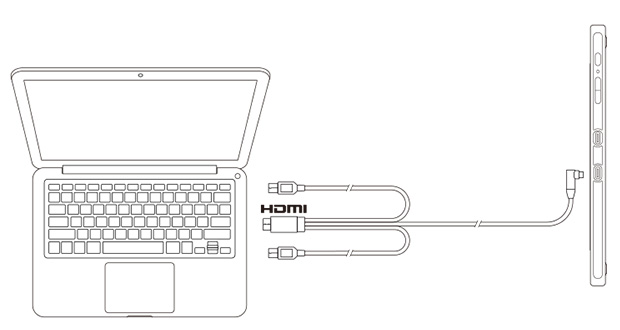
b. Plug the USB cable into the display and plug the HDMI and black USB cords into your computer, then connect the red USB cord to the extender cable and USB adapter and plug it into an electrical outlet.
Smartphone connection
Connect the pen display to your smartphone via the USB-C to USB-C Cable. Plug the USB cable into the display, then, connect the red USB cord to the extender cable and USB adapter and plug it into an electrical outlet.