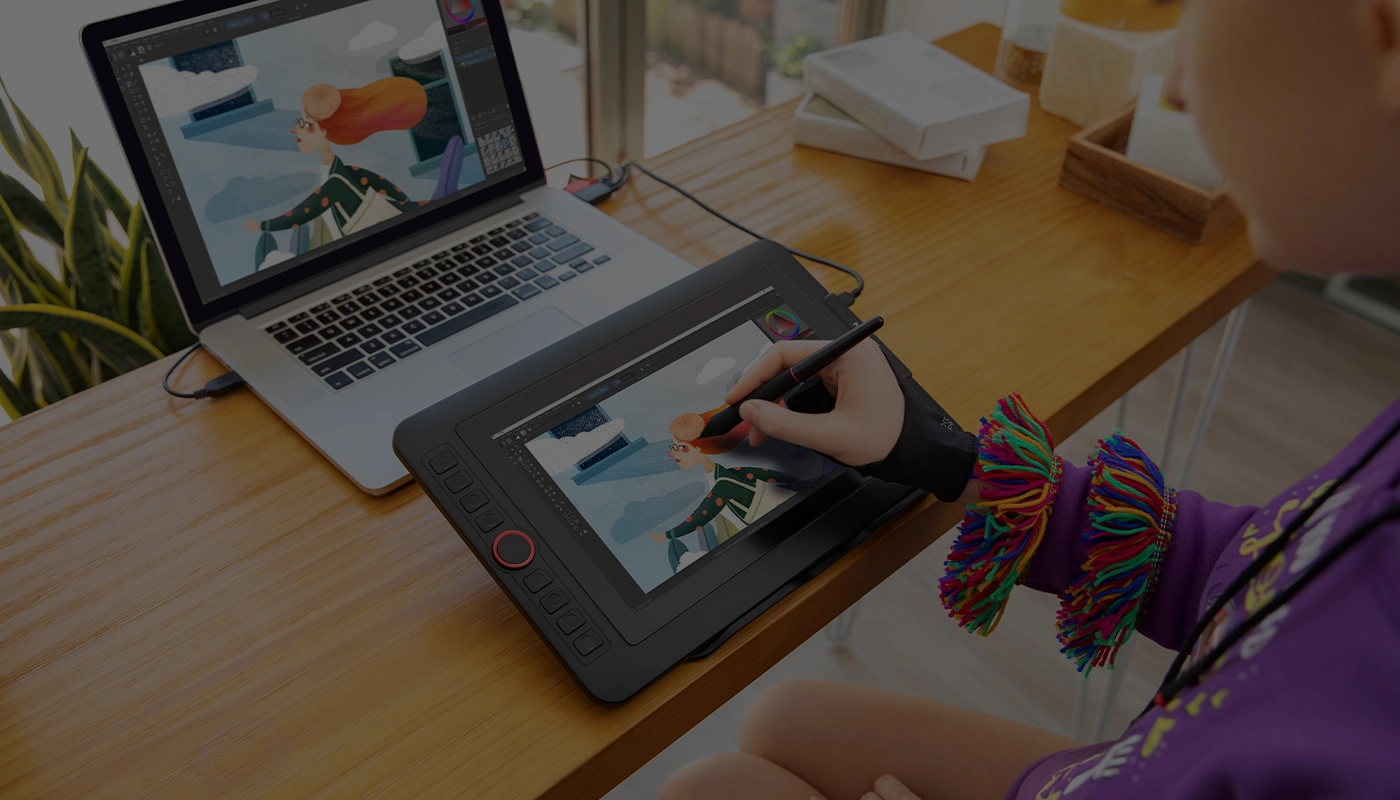
Getting started with your
XPPen Artist 12 Pro Lite
Follow these steps to start creating on your
XPPen Artist 12 Pro Lite.
Follow these steps to set up your XPPen Artist 12 Pro Lite.
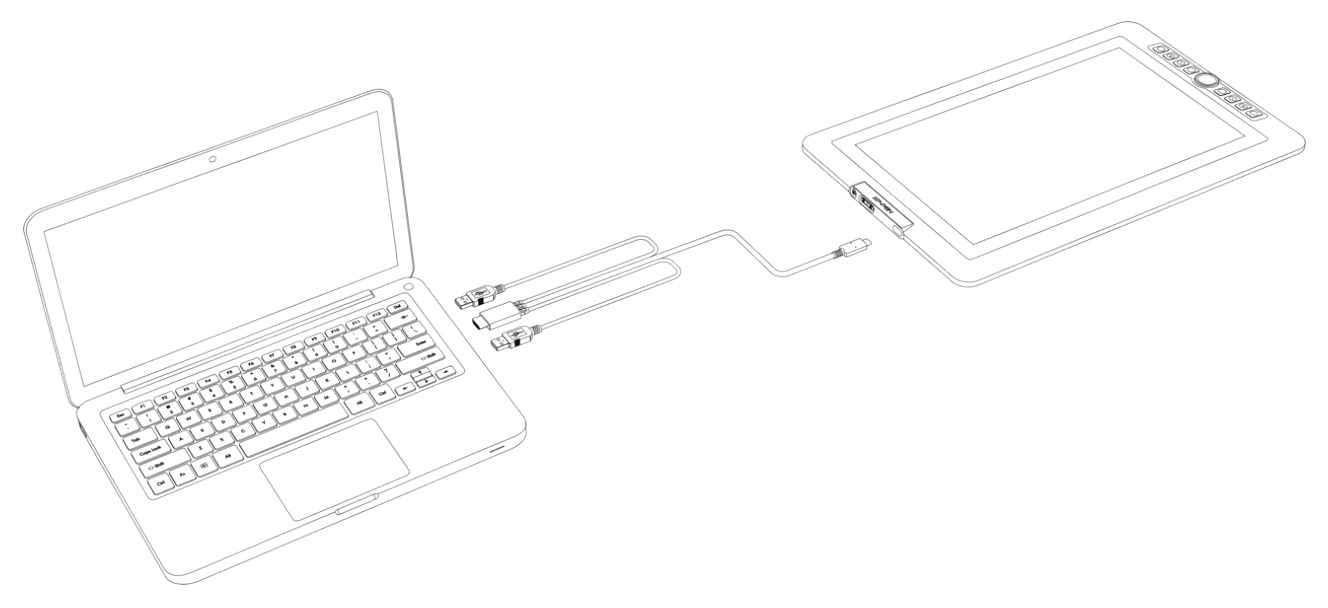
The drawing display is not a standalone device. It must be connected to a computer with USB-A and HDMI ports. For best performance, use the dedicated GPU HDMI port on your computer if available.
1. Plug the USB-C connector of the 3-in-1 cable into the drawing display.
2. Plug the HDMI and black USB-A connectors of the 3-in-1 cable into your computer.
3. If the screen flickers or fails to power on, plug the red USB-A connector into your computer for supplemental power.