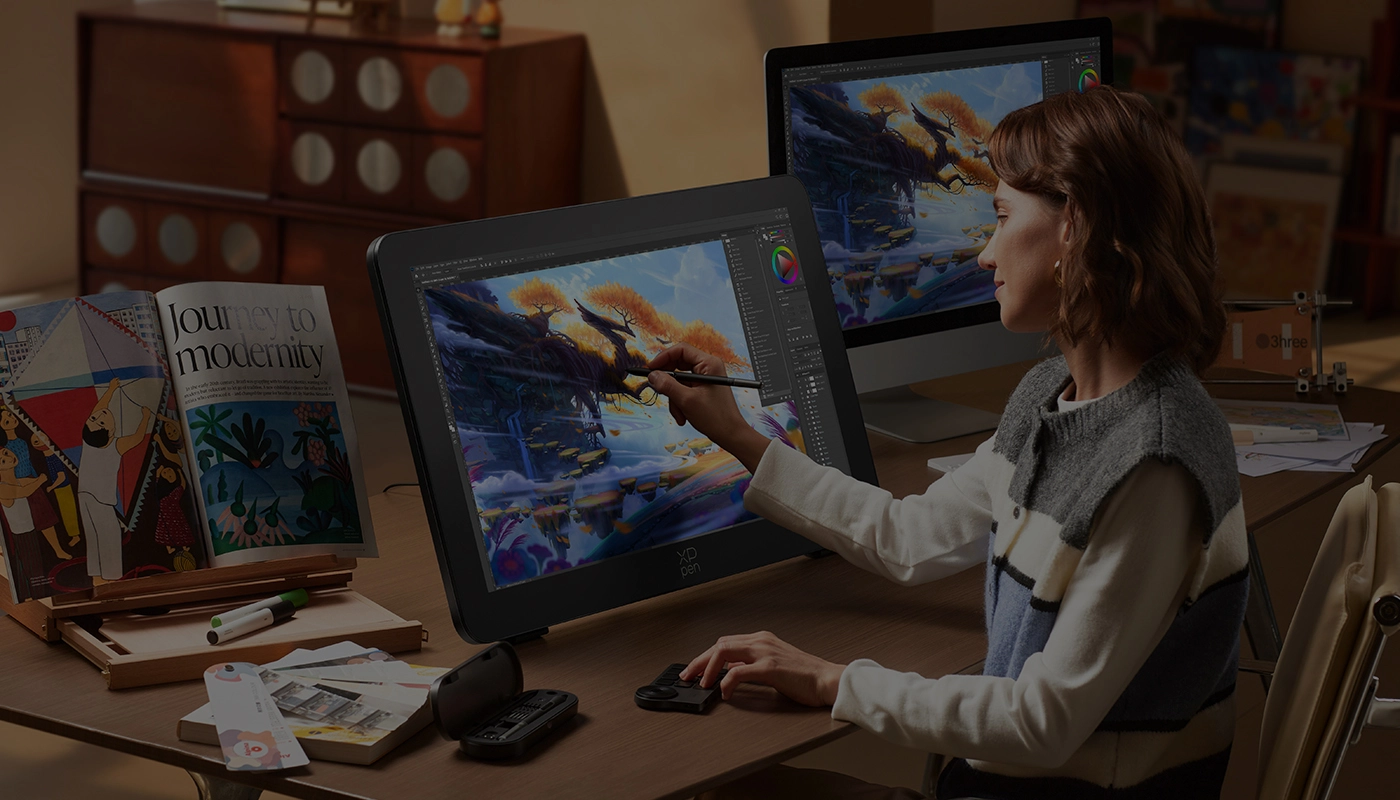
Getting started with your
XPPen Artist Pro 27 (Gen 2)
Follow these steps to start creating on your
XPPen Artist Pro 27 (Gen 2).
Follow these steps to set up your XPPen Artist Pro 27 (Gen 2).
1. Computer Connection
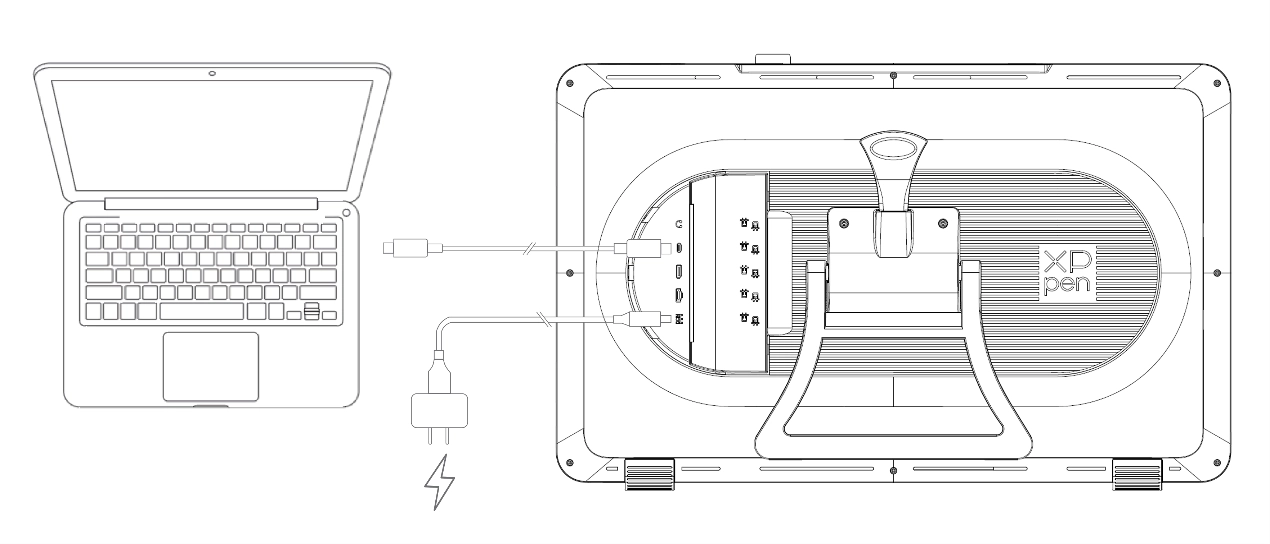
1. Carefully place the Artist Pro 27 (Gen2) face down on a flat, clean surface.
2. Use the power cord and adapter to connect your device to power.
3. Determine which ports are applicable to connect your computer and device:
2. Use the power cord and adapter to connect your device to power.
3. Determine which ports are applicable to connect your computer and device:
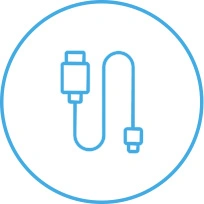
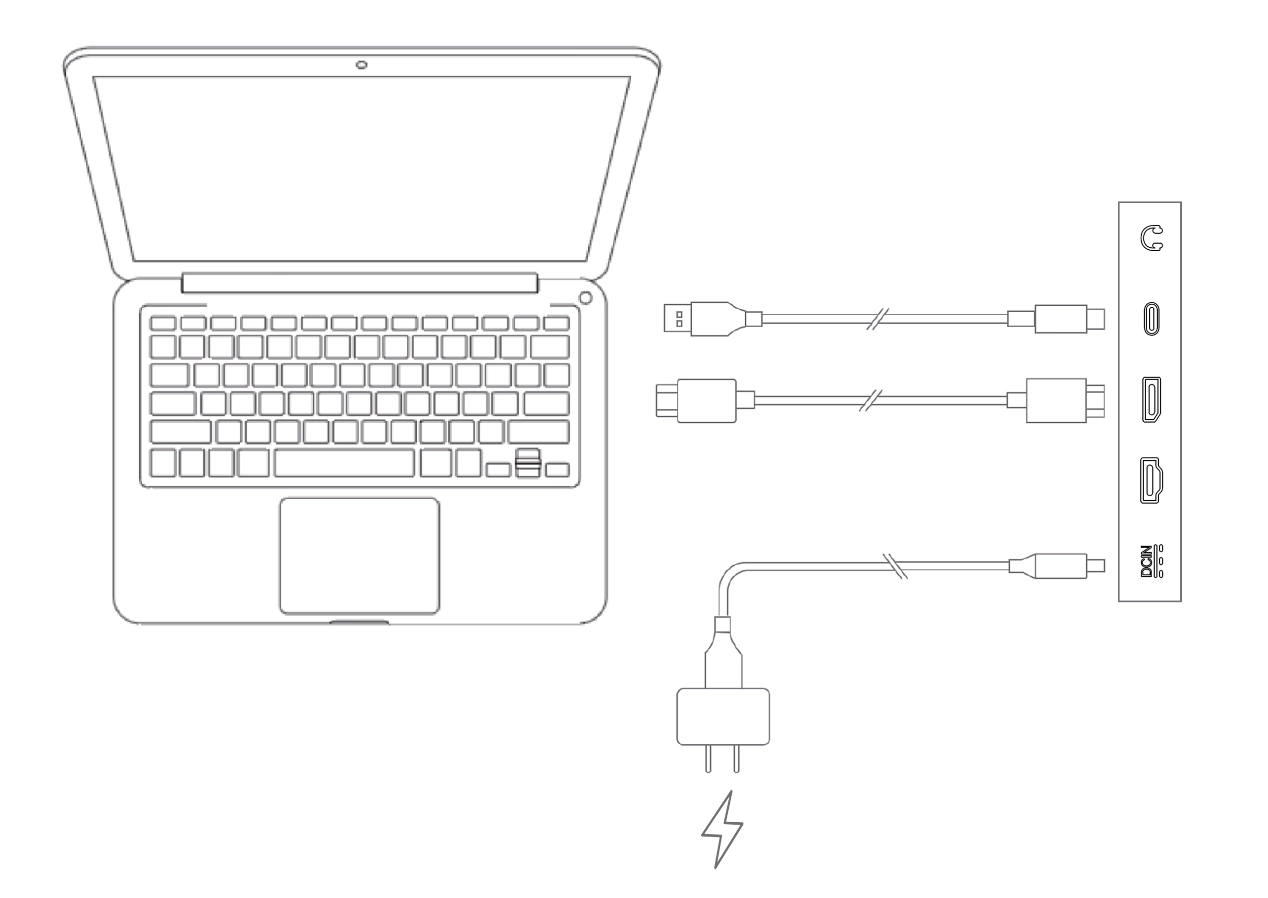
3.1. USB-C: Use the USB-C to USB-C cable to connect your computer and device.
3.2. DisplayPort: Use the DisplayPort cable and USB-C to USB-A cable to connect your computer and device.
3.3. HDMI: Use the HDMI cable and USB-C to USB-A cable to connect your computer and device.
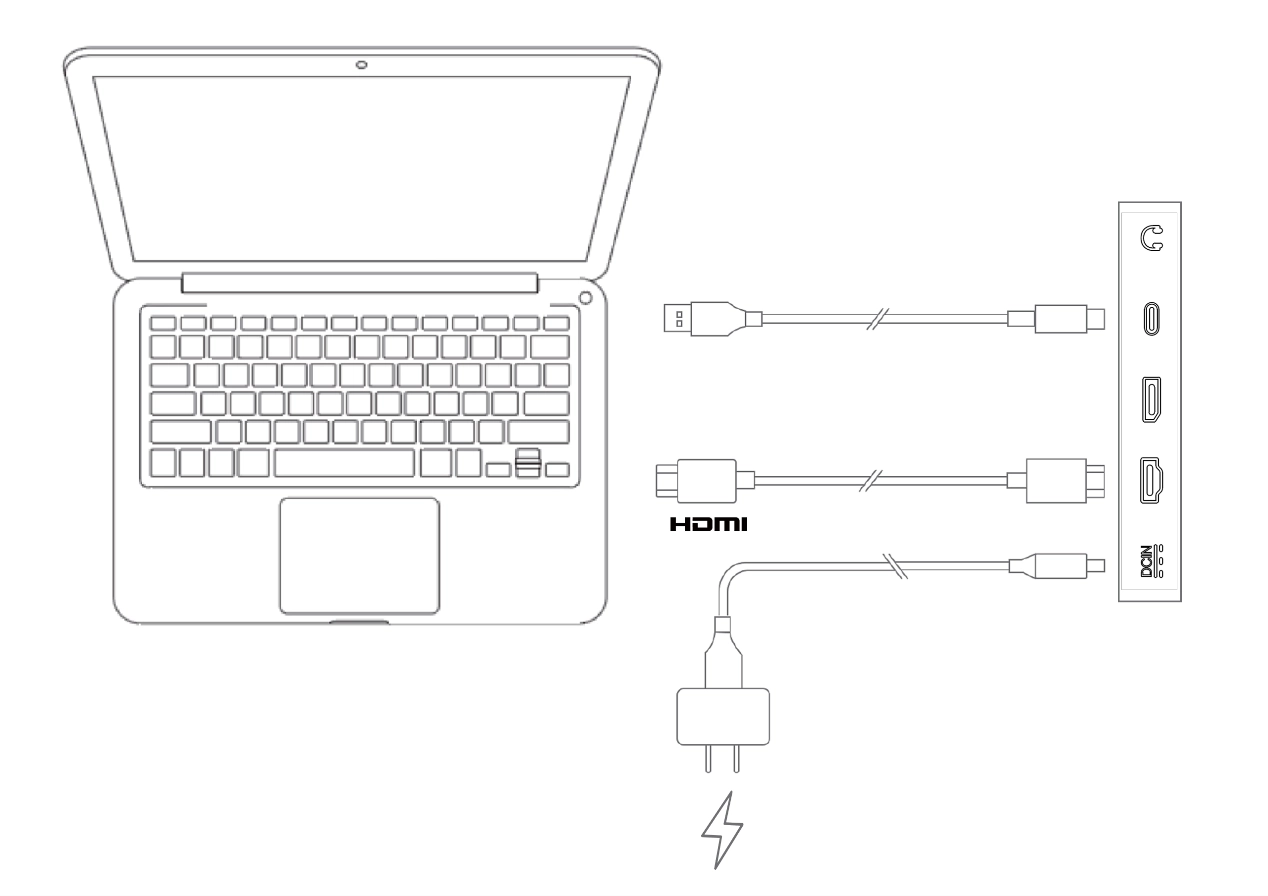
To ensure your device works properly, both video and data cables must be attached from your computer to the device. Connect the video cable through the video port on your computer, and connect the data cable through the USB port.
4. Once connected, you can close the cable cover.
4. Once connected, you can close the cable cover.
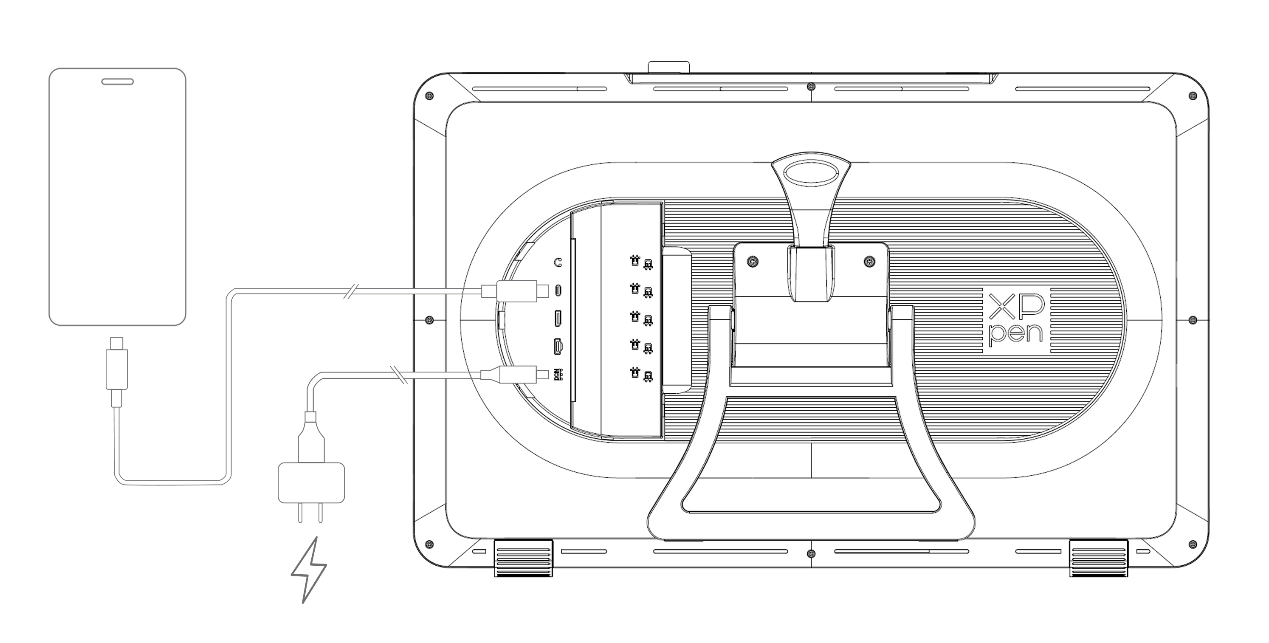
2. Connecting Android Phone or Tablet
1. Use the power cord and adapter to connect your device to power.
2. Use the USB-C to USB-C cable to connect your Android device and the drawing display.
2. Use the USB-C to USB-C cable to connect your Android device and the drawing display.
* For compatible phone models, please refer to the XPPen official website.