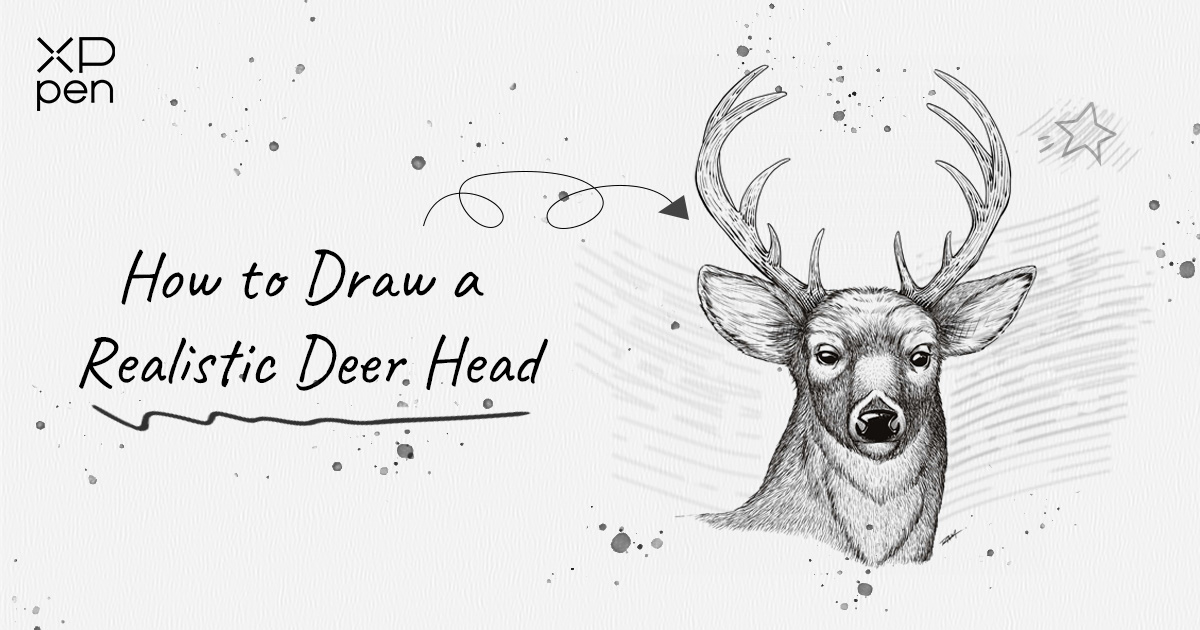
How to Draw a Realistic Deer Head in a Line Art Style
ANIMALSIn today’s drawing tutorial I will walk you through the process of drawing a realistic deer head in a line art style.
This is great for comics and anime style art as well. The same rules apply but with varying levels of detail and line weight.
Finding the reference
First thing you should do is collect references. I like to create a mood board with a couple or a few different images to guide me along the way.
I add them to a single image file so that I can quickly reference aspects of different images.
This also allows me to create something that is unique without getting hyper focused on one particular image as we study and draw from it.
Digital Art tools I am Using
I am using the XPPen Artist Pro 24 (Gen 2) 4K to create today’s illustration. I am also using Clip Studio Paint for the art program.
Draw a deer head step-by-step
Step 1 — Start with a Basic Sketch
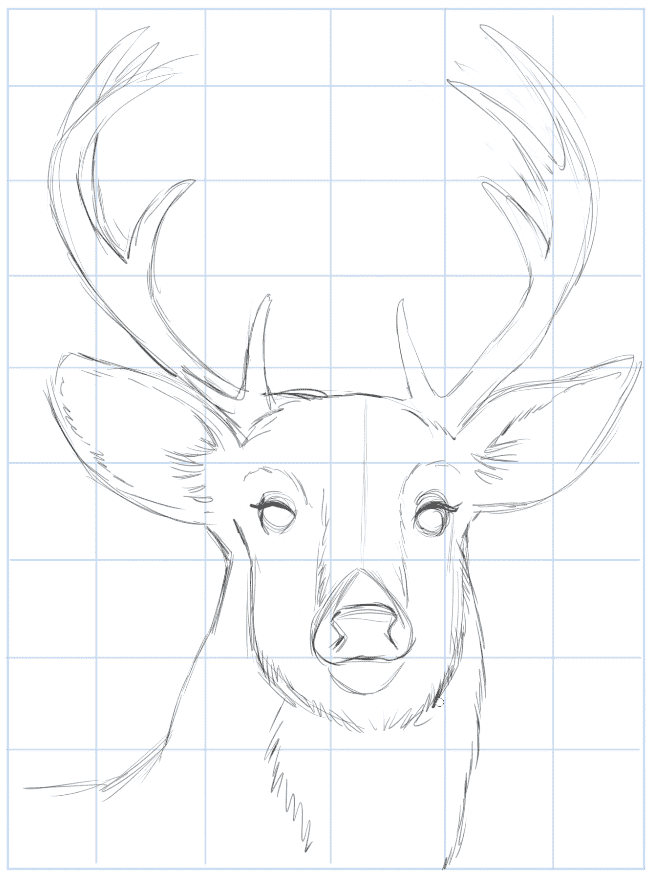
I like to work off a grid to get the initial drawing started. This helps us to align things as we draw and avoid skewing the work.
For the initial sketch, try to get in the big shapes and proportions of the deer head.
Don’t worry if the start of this is a bit rough. The wonderful thing about digital art is that we can make edits along the way and fix it as we move forward.
Step 2 — Directional Lines of the Fur
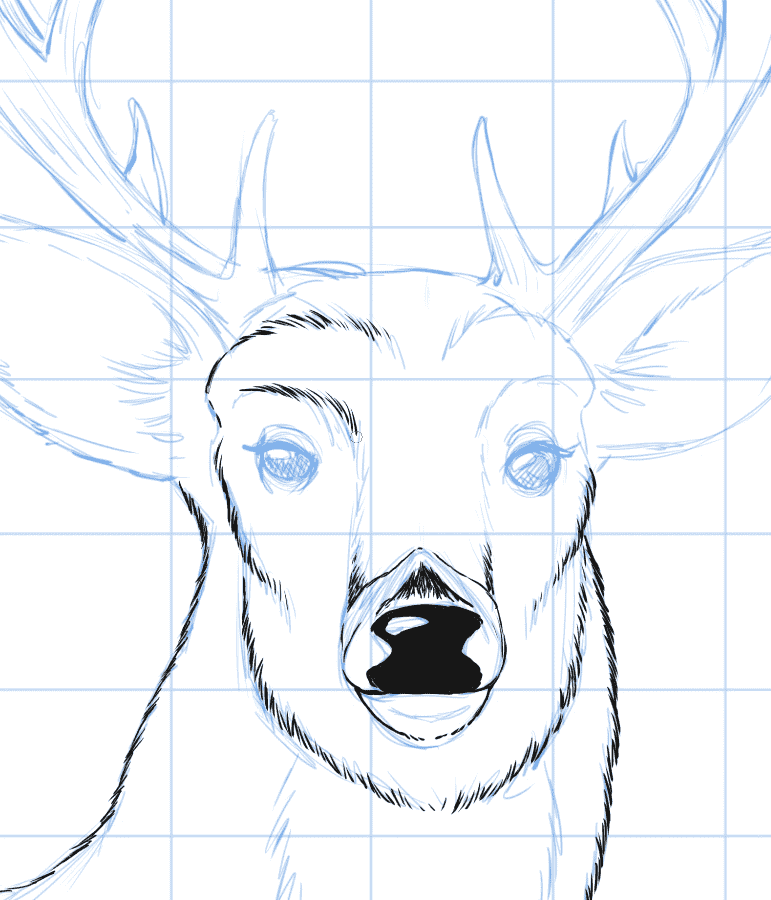
I like to take the sketch and make it into a blue line. This can be done in Clip Studio Paint very easily on the layer settings.
Then with a new layer I start to ink the fur with a solid brush. I like to use the G-Pen.
Notice that I am moving the lines around in a directional manner. These are basically a guide on how the fur flows around the forms.
I will fill in the nose with a solid shape and a small glare to make it appear more dimensional.
Step 3 — Adding More Directional Lines to the Fur
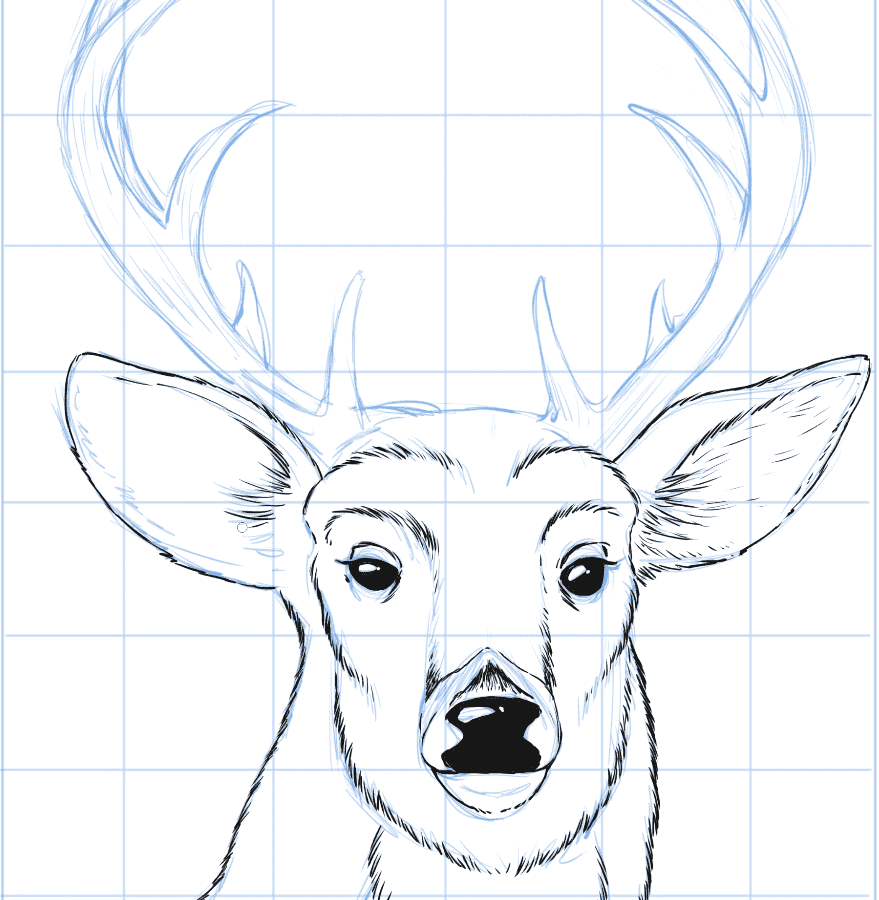
Continue drawing the directional lines of the fur around the rest of the deer head details.
Look for volumes as you do this. Areas like the bridge of the nose, the eye brows, and the cheek bones.
It’s a bit difficult to see these areas of the head with all this fur but this is where the reference can teach us a lot.
We can also take the time to study the skull and muscular system of any animal that we are trying to better understand.
While we are here, fill in the eyes in a similar fashion to the nose.
Step 4 — Draw in the Antlers
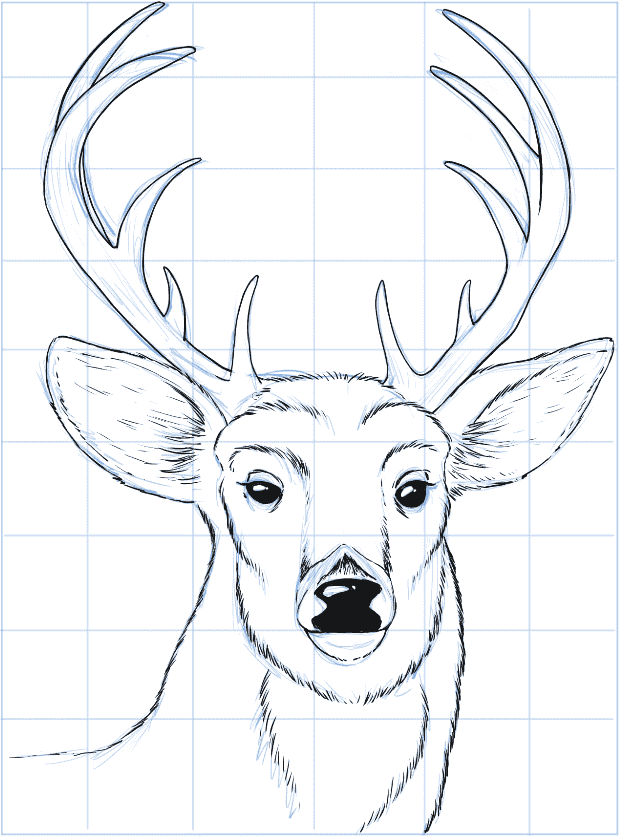
Now we can draw in the antlers or horns. For this I like to use a nice consistent stroke to clean up the work.
Try to start at one point and flow around the curve without stopping until you reach a pointed end of the antler.
Then start again and flow to the next major point. You can even practice throwing some of the lines with a quick sweeping pass.
Also, keep in mind that in most art programs like Clip Studio Paint you can adjust your “Stabilization” for more control.
Step 5 — Adding Texture to the Fur
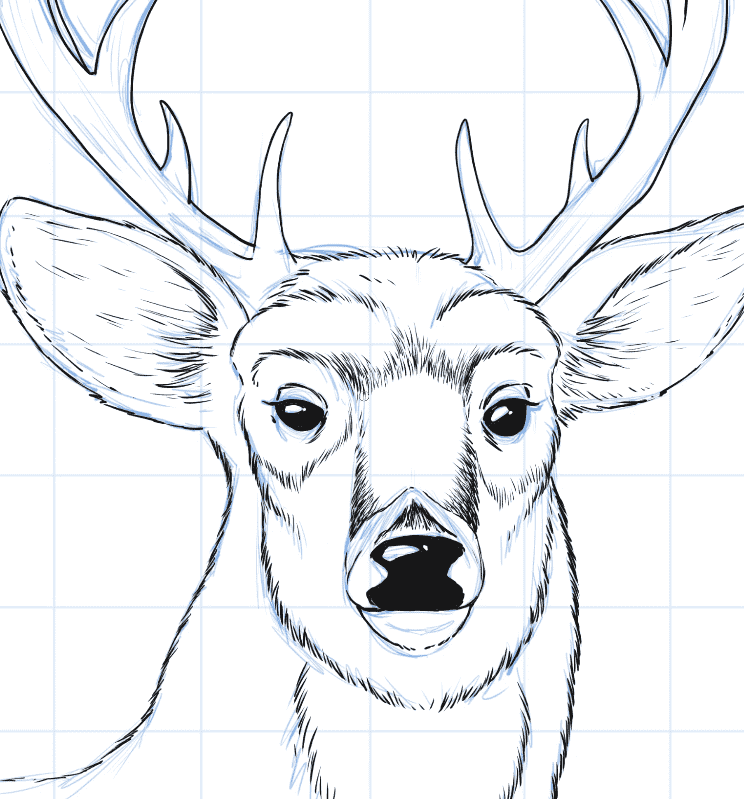
Now we can begin to build up the texture to the fur. This is done in the same way as the directional lines but we will overlap the strokes to create thicker areas of fur.
Some styles will use much smaller lines and some much thicker. You can play around with this aspect of your work and get extremely creative with it!
Make sure to continue to pay attention to the directional lines that we start with. They will guide you as you build up your texture.
We can also use the directional lines to add the markings to the deer. The eye areas will be lighter so I have divided those up with more directional lines.
Step 6 — Adding and Adjusting
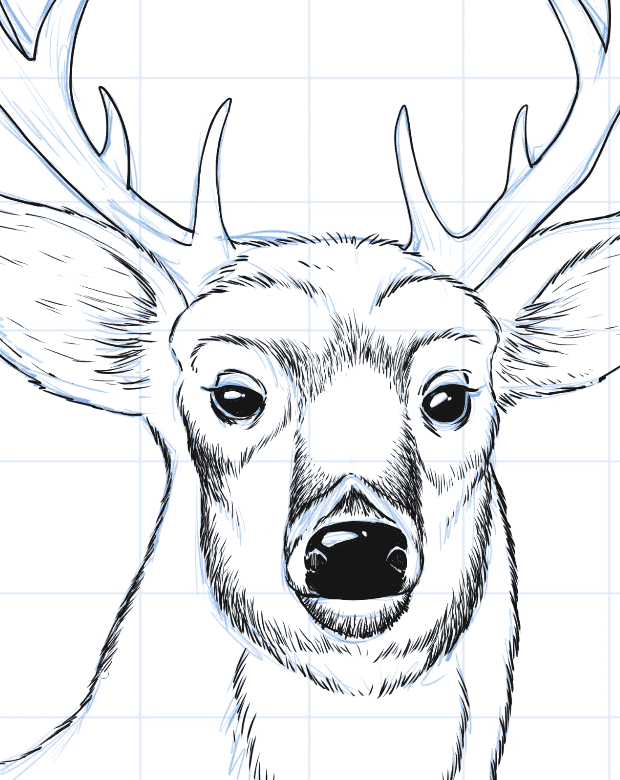
We can continue to build up the texture around the rest of the forms.
As you get more of the texture in place, you may start to see areas that you want to adjust.
This is common in art since the initial contours look very different with a sense of value to them. As we add more details, we begin to see the volumes and proportions more clearly. So if you need to move some areas around, just create a selection and move them.
We can always render the fur over the top and blend any changes together pretty easily.
Step 7 — Applying More Fur
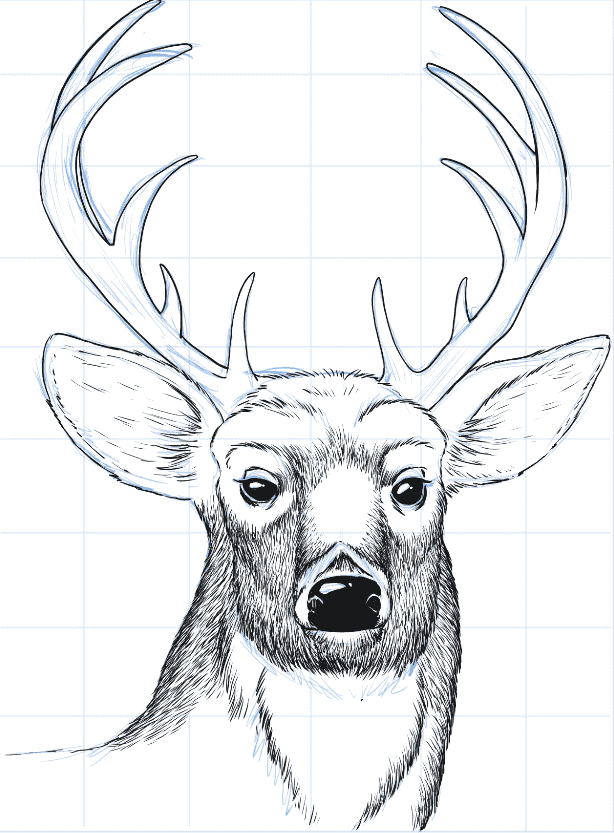
We continue adding these little bits of fur all around the deer head.
This part requires a bit of patience so I like to listen to some music and get lost in the process. It can be very relaxing to do. I also take breaks as needed.
This allows us to enjoy the process and to look at the art with fresh eyes, which is very important for spotting flaws.
Step 8 — Adding Fur to the Ears
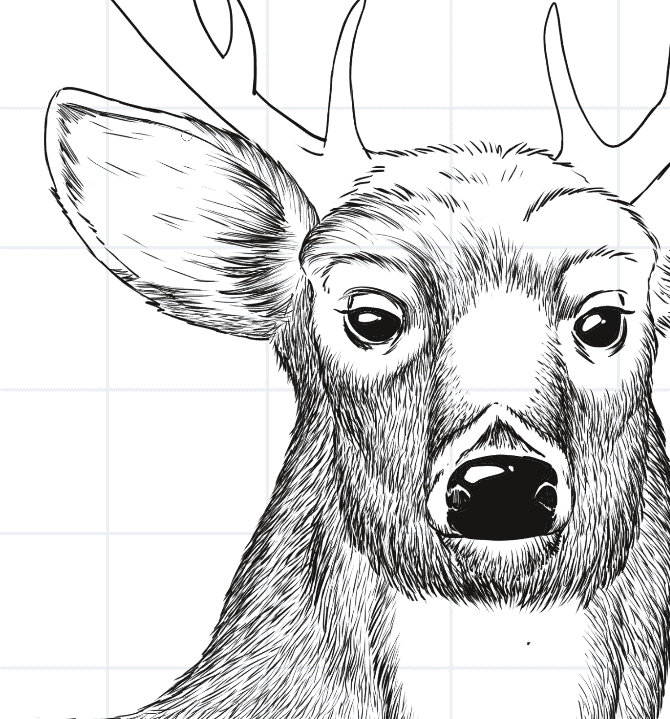
Now to add fur to the ears. Same rules apply here about following the directional lines. The only difference is that the fur of the ears is a bit more sporadic. So look for the areas that are longer and flowing into different directions.
At first it may be hard to spot and illustrate the slight variations that we tend to find in the fur. As you practice this subject more and more, you will begin to recognize the patterns that make something appear more natural and organic.
Step 9 — Adding Texture to the Antlers
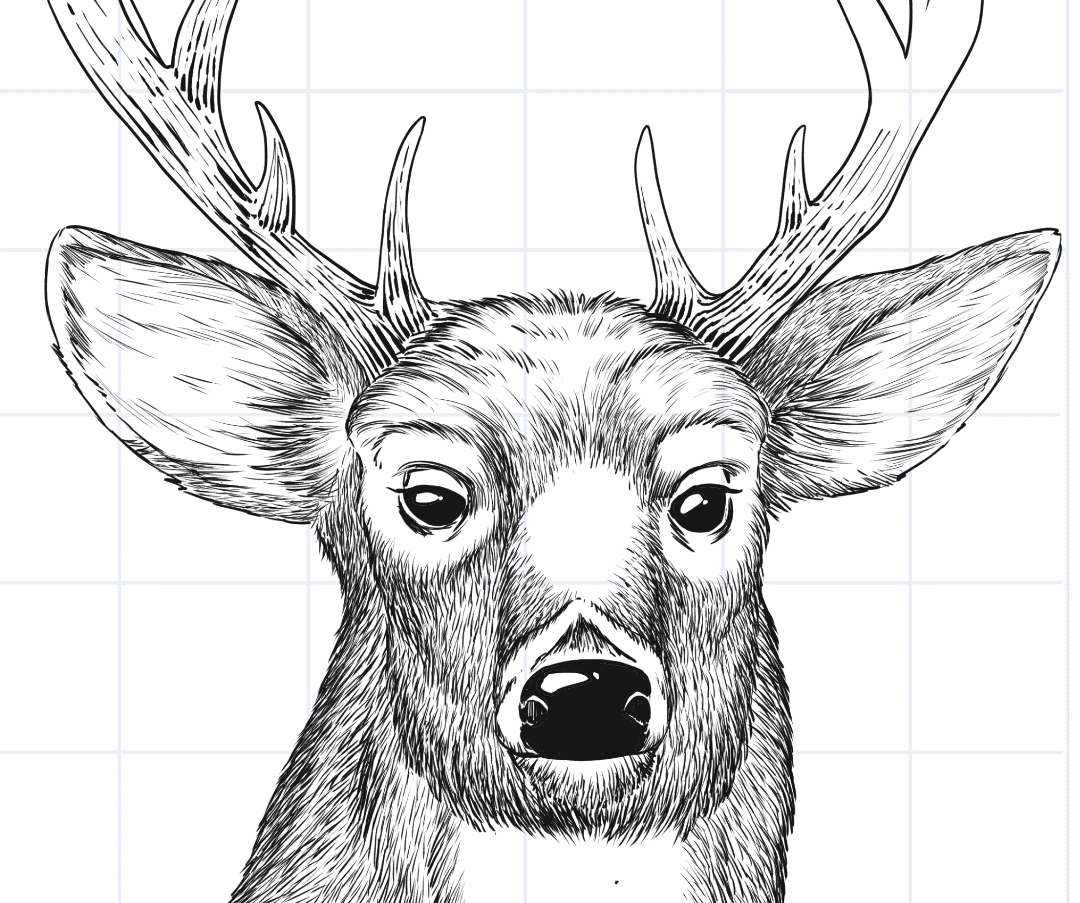
For the antlers of the deer, we can add in lines that are much thicker and with more of a varied line weight.
I like this look because it reenforces the ridge-like textures that we see on the antlers.
We can also help to explain the direction of the antlers by wrapping the lines around the horns as we go.
Notice that I am also making them thicker at the base of the horns to show a bit of shadowing and hopefully more depth to the drawing.
I also think this area looks better with broken up lines. I purposely put a bit of wobble to them as I drew them.
This gives them a bit more energy and makes them read more independently from the rest of the textures.
Step 10 — Making Edits to the Work
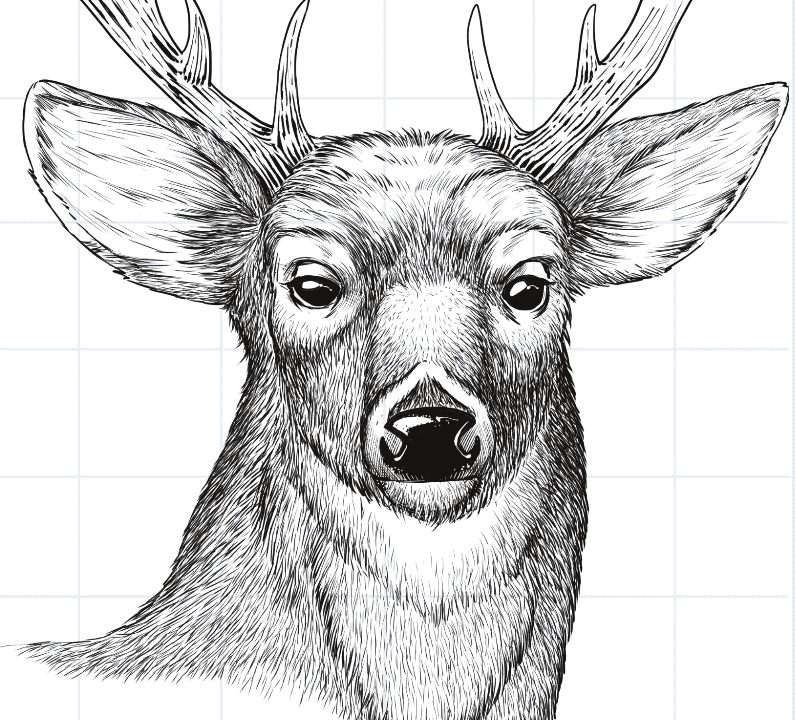
Remember what I said about editing your work?
After looking at this artwork with fresh eyes, I began to critique it and wanted to make some adjustments.
I felt that the fur along the jawline was a bit too much. So I erased it back and then touched up the edge by drawing in the fur again.
I also nudged over the eye and changed the face shape a bit. That really is one of the best parts about digital art, editing the work is much more efficient!
The Final Artwork!
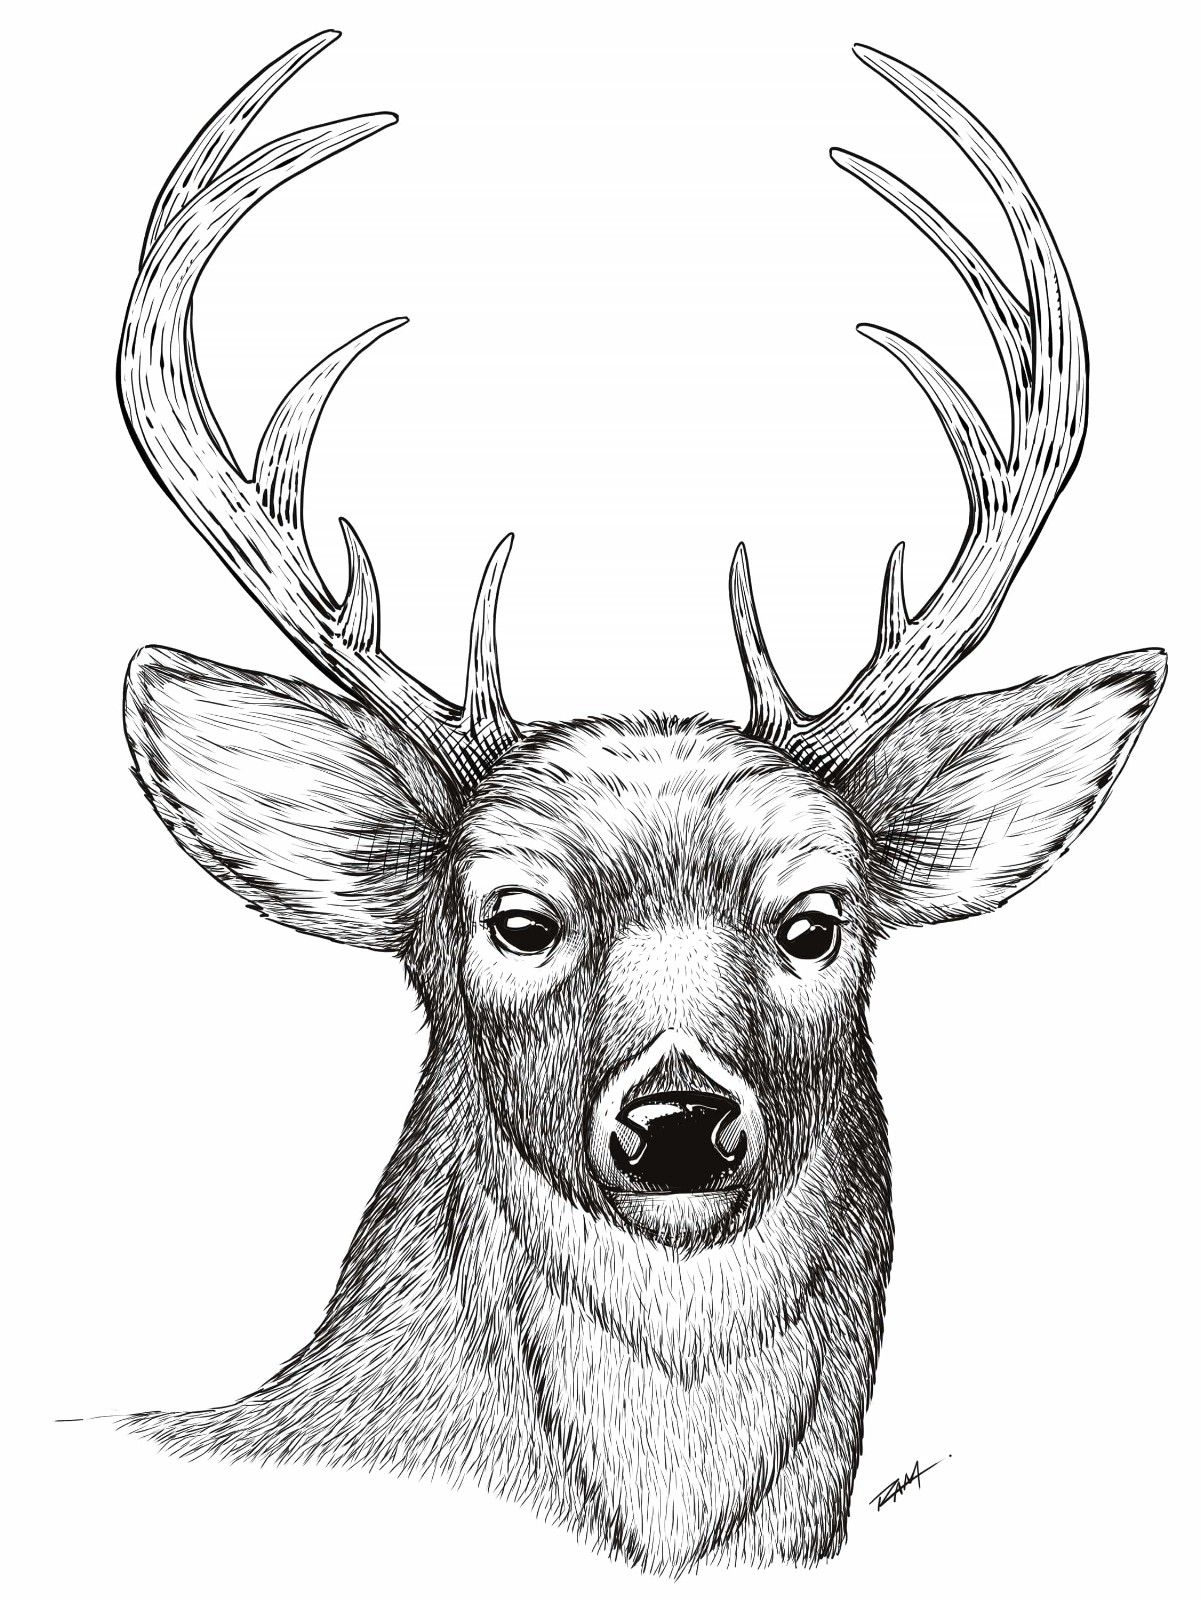
To finish the artwork we just continue down this path. Going back and forth from light to dark until we get the desired result that we are after.
Video Tutorial for draw a deer head
If you would like to watch a step-by-step narrated video on the drawing process you can watch it here…
I hope that this art tutorial has been beneficial for you and I thank you for working through to the end!
You’re awesome and never stop making art to share with the world! :)
If you want to see more drawing tutorials by Robert A. Marzullo, you can visit Ram Studios Comics.
About Us
Founded in 2005, XPPen is a leading global brand in digital art innovation under Hanvon UGEE. XPPen focuses on the needs of consumers by integrating digital art products, content, and services, specifically targeting Gen-Z digital artists. XPPen currently operates in 163 countries and regions worldwide, boasting a fan base of over 1.5 million and serving more than ten million digital art creators.
Learn moreWant to elevate your drawing skills?
Discover step-by-step tutorials, expert tips, and creative techniques to boost your drawing skills.
