
Photoshop Drawing: How to Draw Cartoon Characters Step by Step
OTHERSInterview Time!
Why do you want to learn digital drawing?
Person A: My hands will not get dirty.
Person B: I can modify and share my works conveniently.
Person C: Erm, because everyone is drawing digitally.
No matter what your reason is, digital drawing is everywhere in the creative industry. Among the myriad tools available, Photoshop drawing stands out as a cornerstone of digital artistry and you can't miss it!
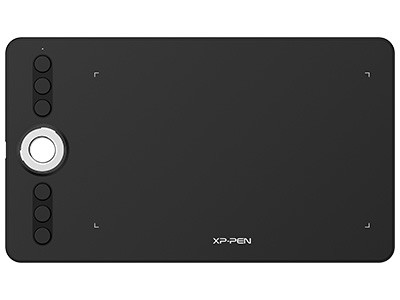
So today, we are going to introduce you to an easy-to-follow tutorial about how to draw a cartoon character, which is also our mascot Fenix, in Photoshop, with an XPPen Deco 02 graphic tablet.

Final Work
Step 1: Set up the canvas
Set up a new image with 16 x 11 inches and the resolution at 600 pixels/inch. The only downside of this setting is the file is a little big, but you can print your work at any size with 300 dpi. Then click "Create".

Step 2: Make your own brush
There are plenty of free brushes everywhere, but I like to make my own ones. The pen brush I made for sketching is called Fantastic 19. I used it heavily at every stage of drawing, not just limited to sketching.
First, choose the default hard round brush and select the size to 19 px.

Then click the brush setting.


When you drag the brush tip, the marks will vary in diameter. So, for the shape dynamics, change the minimum diameter to 20%. The minimum diameter parameter controls the thickness of the two ends of the brush; 100 % means the stroke's width is all the same from top to end, and 0% means the end and head are quite thin, pretty close to 0.

Then check transfer. Choose pen pressure both under Opacity Jitter and Flow Jitter.
The build-up tab simply triggers the build-up effect.
Then click the create new brush button.

Remember to check the "Capture Brush Size in Preset," or your brush size will change to the size of the last brush you used.

OK, now the brush is all set. Since Deco 02 has 8192 pen pressure sensitivity, it can capture every stroke quickly and precisely.

Step 3: Get layers on their marks!
Now let's set up the layers. The layers palette is on the right bottom corner and the create new layer icon is at the bottom of the layer palette. I am going to set up 3 types of layers: sketch, refined sketch, and color.

Step 4: Draw, Ctrl+Z, redraw
Just like many beginners, when I started to learn to draw, the lines I drew were not straight, and the curves were not smooth. The solution to this problem is to draw fast and practice more. I know there are many softwares that have the stabilizers, like SAI, but stabilizers can't do everything.
The drawing on the sketch layer is quite rough and has crosshairs. When drawing faces, crosshairs help you line things up, like eyes and mouth.

Step 5: Define the sketch.
First, lower the opacity of the sketch layer, then correct your drawing and remove unnecessary stuff from the refined sketch layer. It's just like drawing on the tracing paper. When you need to get rid of something, you can just press the second key on Deco 02 to change the brush to eraser or use the eraser at the end of the stylus. The drawing experience is pretty close to real pencil drawing.

Step 6: Coloring
Now, it's time to color the little Fenix. Remember to put the color layers under the sketch layers, so the color will not go over the lines.

You can color the parts with the brushes or making selection then use the bucket tool to fill it. It's up to you.

When it comes to adding more details, I like to use clip masks (Ctrl+Alt+G (Windows) / Command+Option+G (Mac)). It won't modify other colored parts, and it can be added as much as possible.
Step 7: Done.
Tada! Our cartoon character, cute Fenix, is finished. Hope you guys enjoy today's tutorial and keep drawing!
About Us
Founded in 2005, XPPen is a leading global brand in digital art innovation under Hanvon UGEE. XPPen focuses on the needs of consumers by integrating digital art products, content, and services, specifically targeting Gen-Z digital artists. XPPen currently operates in 163 countries and regions worldwide, boasting a fan base of over 1.5 million and serving more than ten million digital art creators.
Learn moreRecommended Articles
BEGINNER How to Learn to Draw Manga & Anime OTHERS How to Draw Tattoos with Drawing Tablet [Complete Guide] OTHERS How to Draw Stitch with XPPen - Step-by-Step Guide OTHERS How to Draw a Human Head with XPPen Drawing Tablet


Want to elevate your drawing skills?
Discover step-by-step tutorials, expert tips, and creative techniques to boost your drawing skills.
