How to Draw Stitch with XPPen - Step-by-Step Guide
OTHERSStitch is one of the most popular and iconic Disney characters of all time. His rich blue color and cute yet somewhat intimidating character design have made fans love him. If you ever wanted to learn how to draw Stitch, then we have one great surprise for you. Although he may look simple, Stitch's anatomy and proportions are very unique, even for animated characters. It gives a chance to both experienced and beginner artists to test out their abilities
We present to you a tutorial on how to draw Stitch step-by-step. It’s complete with all the necessary things you need to know on how to draw Stitch easy and cute. As well as an added bonus where we teach you how to draw Christmas Stitch along with the tools you can use to paint this character.
How to draw Stitch with XPPen step-by-step
To perfectly capture the character both in essence and in design, here are 7 easy steps you should follow while painting Stitch.
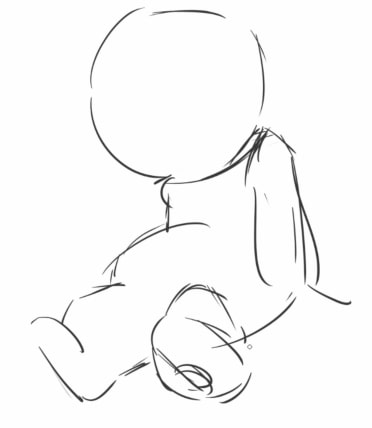
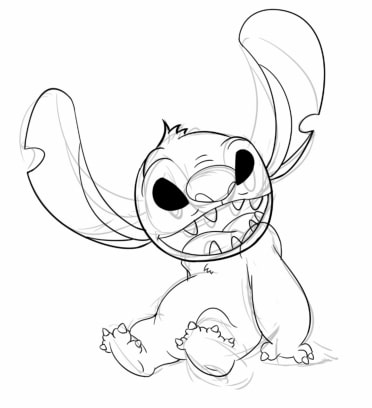
Step 1. Sketch the pose
Draw a rough sketch of Stitch’s pose. Try using basic shapes like circles, squares, and ovals as much as possible.
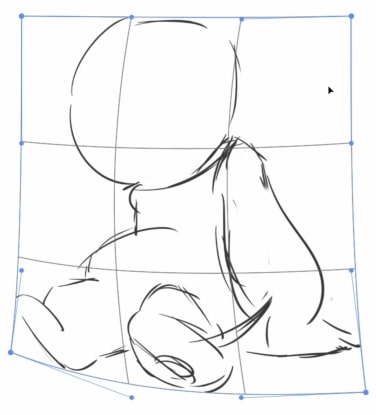
Step 2. Warp and adjust
Using the Warp tool in Photoshop, adjust the Stitch’s proportions. You can also bend and stretch some parts of his body to make it look more like he’s sitting.
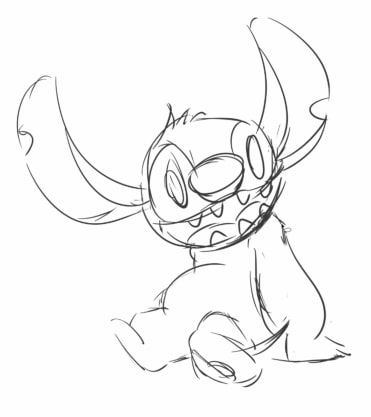
Step 3. Add in more details
Add Stitch’s facial and bodily features like eyes, claws, fingers, and more. Remember to also still use simple shapes and don’t add too much detail.
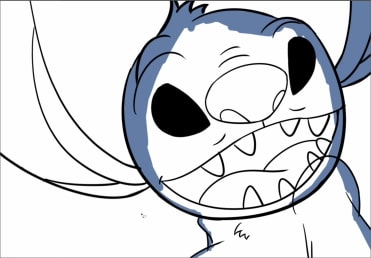
Step 4. Start your line art
With the Brush tool, you can now start Stitch’s line art. Use your previous sketch as a guideline and this time, add in more details. We recommend using as little strokes as possible to make your line art look clean.
Step 5. Paint your base color
Now that you’ve finished your line art, you can start adding in some color. Fill in the entire painting with blue as your base color. Don’t worry, unlike traditional painting, you can always add the less dominant colors on another layer.
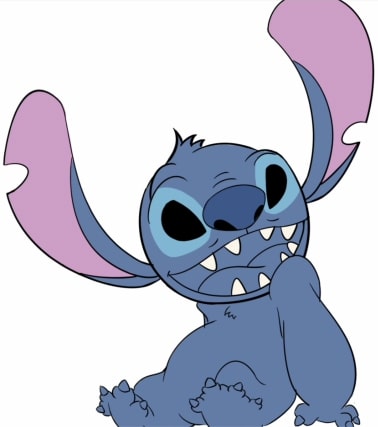
Step 6. Add more color
After adding in your base color, you can now add some more colors by painting the more intricate body parts.
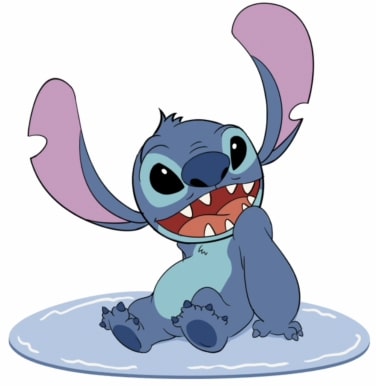
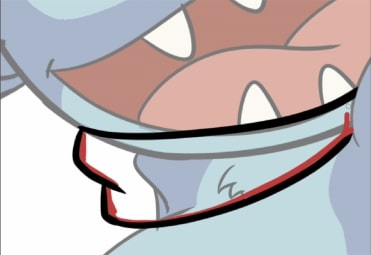
Step 7. Extra touches
To finish drawing Stitch, add some extra touches like the surface he’s sitting on or you could even add some shadows. This ends the tutorial on how to draw Stitch an easy step-by-step.
How to draw Christmas Stitch
As an added bonus, you can continue your finished Stitch drawing and make him have the proper attire for the holiday season. The process involving how to draw Christmas Stitch is quite similar to the previous tutorial. It’s not difficult and might even be easier, especially if you mastered drawing Stitch.
Step 1. Sketch the outfit
To start off this holiday addition, sketch his hat, shoes, gloves, and the scarf wrapping around his neck. For the hat, you can just draw it around Stitch’s head and you don’t need to cover his forehead.

Step 2. Draw your line art
Once you have fit his attire properly, begin on your line art. Similar to how you drew Stitch’s line art, use as few strokes as possible to have clean and cohesive lines. To not get confused you can also lower the main drawing’s opacity.

Step 3. Add colors
After finishing the line art, you can now add some colors. Try to use colors that are usually seen on Christmas like Red, Green, and White for Stitch to truly have the Christmas Spirit.
Step 4. Bring back the opacity
Now turn back the opacity of the main drawing to 100% and be amazed as Stitch now has new cute clothes.

Step 5. Outlines and background
Try adding more of the Christmas atmosphere by adding a white outline around Stitch. Turn the background into this bluish-green tone as well.

Step 6. Finishing touches
To complete the entire painting, add dots of different colors and place them all around Stitch. Try mimicking snow and give yourself a pat on the back as you now can enjoy Christmas Eve with Stitch.

Best XPPen drawing display for Stitch painting
Congratulations! You have successfully drawn both Stitch and his Christmas-loving counterpart. However, the drawing tablet you use to accomplish this task may affect your current and future outputs. That’s why we’ve compiled the best XPPen drawing displays you can use to make the best out of the how to draw Stitch easy tutorial.
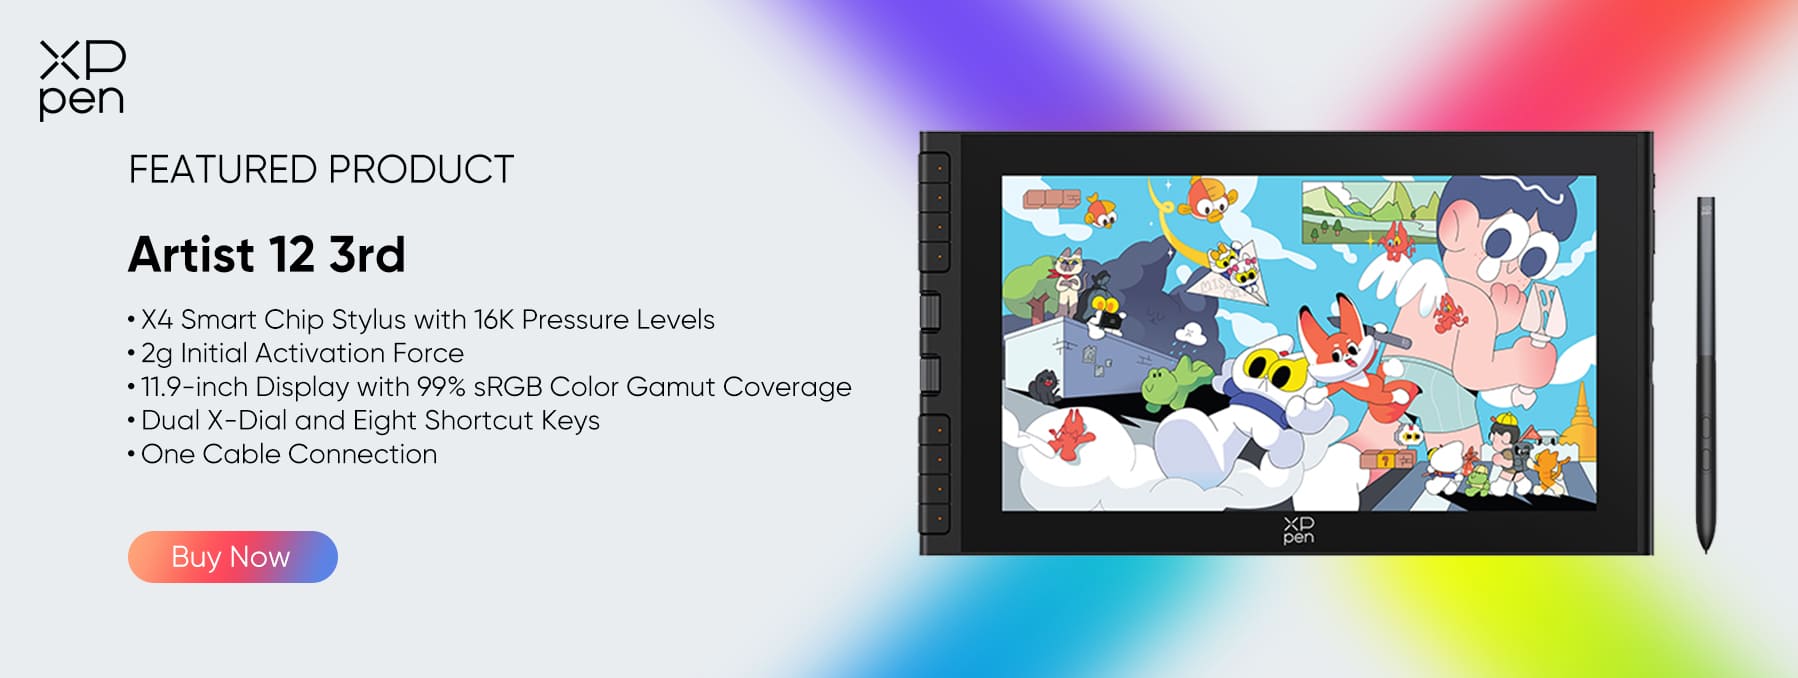
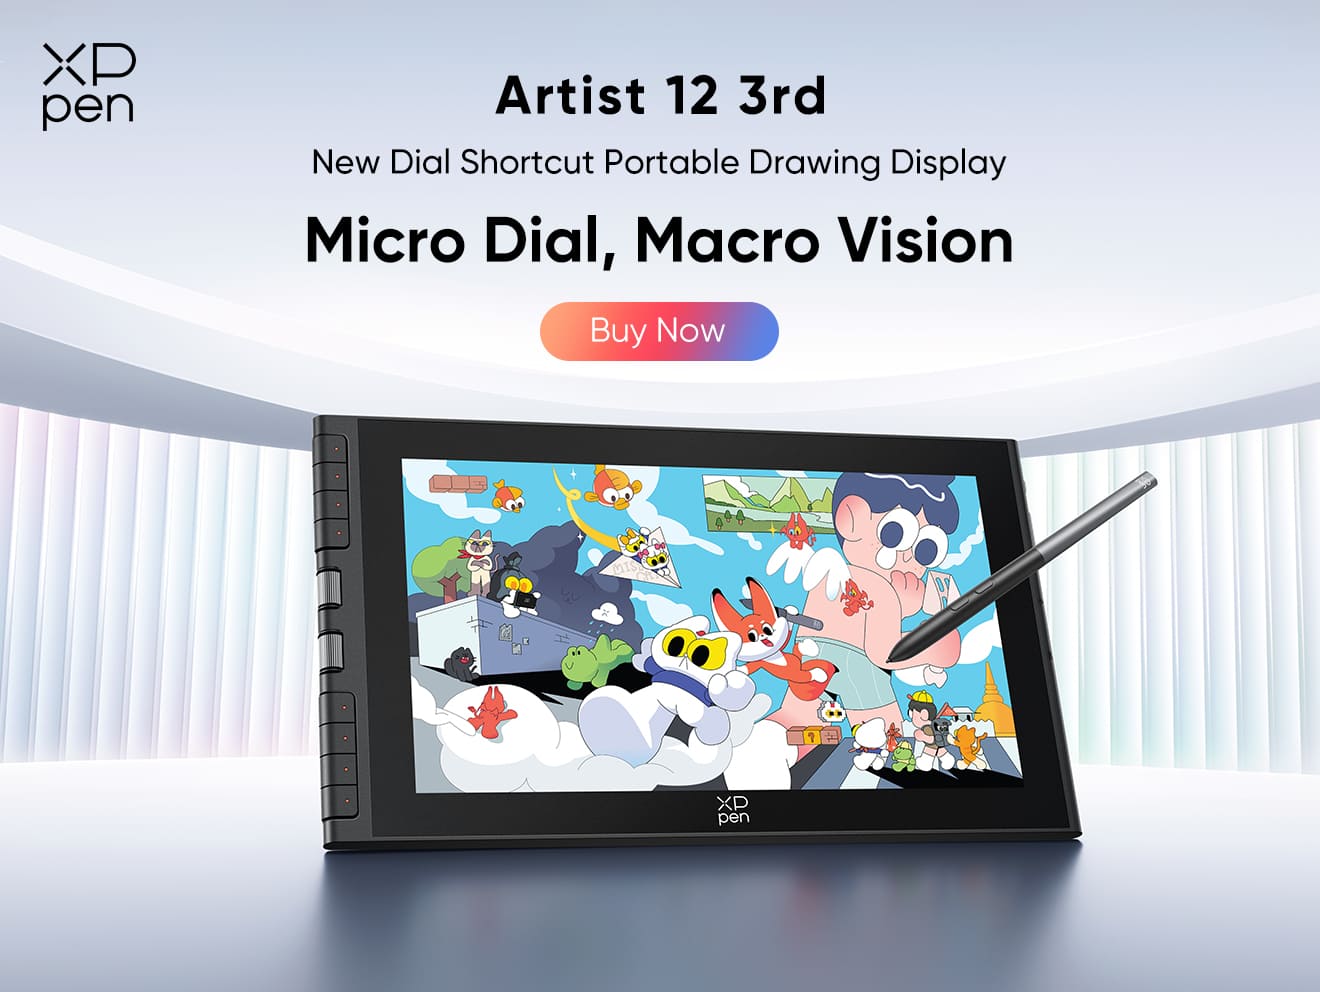
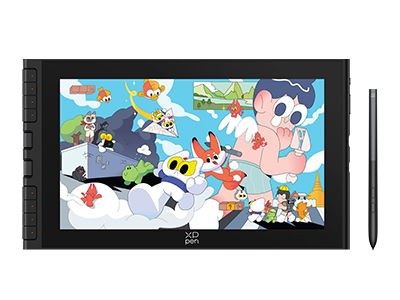
XPPen Artist 12 3rd
The XPPen Artist 12 3rd is an entry-level digital art tablet.
-
Brilliant Display: It features an 11.9-inch fully laminated display with AG etched glass, offering a paper-like drawing texture and reduced glare. The vibrant 99% sRGB color gamut ensures accurate and vivid colors for sketching, note-taking, and digital art.
-
Next-Gen Stylus Performance: Equipped with the X4 Smart Chip stylus, this tablet delivers 16K pressure sensitivity and an ultra-fast 30ms response time, capturing every subtle stroke and shading variation with precision. The pen requires no charging, providing a seamless and consistent creative flow.
-
Customizable Workflow:: With 8 shortcut keys and a dual control dial, you can personalize your workflow—switch tools, zoom, or adjust brush sizes without breaking your focus. It’s ideal for both professional artists and beginners looking for an intuitive setup.
-
Versatile Use: Beyond drawing, the Artist 12 3rd is perfect for note-taking, sketching, annotating documents, or designing on-screen visuals. Its compact size and lightweight build make it an excellent choice for students and digital creators alike.
-
Connectivity: The tablet connects easily to your Windows, macOS, ChromeOS, Linux, or Android devices via a 3-in-1 cable or USB-C connection, giving you flexible setup options whether at home, in class, or on the go.
XPPen Deco Fun
Are you still a beginner and are hesitant to invest in high-quality drawing tablets with a display? TheXPPen Deco Fun might be for you. The Deco Fun is portable and you can carry it with you wherever you go. The stylus is battery-free, and it supports an 8192 pressure level with a 60°tilt function. Not only that it comes in 4 different colors and 3 various sizes, making sure that it fits your needs from drawing Stitch, to presentations, to even playing Osu.

Conclusion
Once again, congratulations! You’ve learned how to draw Stitch with our easy step-by-step tutorial. However, don’t stop there. Enhance your drawing abilities with XPPen and show your creative talents to the world. After Stitch, you might be interested in even drawing more characters like a mermaid.
Be consistent and always learn from others because practice makes perfect! Take XPPen with you as you go through your journey as an artist.
About Us
Founded in 2005, XPPen is a leading global brand in digital art innovation under Hanvon UGEE. XPPen focuses on the needs of consumers by integrating digital art products, content, and services, specifically targeting Gen-Z digital artists. XPPen currently operates in 163 countries and regions worldwide, boasting a fan base of over 1.5 million and serving more than ten million digital art creators.
Learn moreRecommended Articles
ANIMALS How to Draw a Cute Dog with Simple Steps (Cartoon & Realistic Styles) ANIMALS Easy Drawing Guide: How to Draw a Cat Face ANIMALS How to Draw a Wolf: Step-by-Step Guide for Beginners OTHERS How To Draw Noses (With Sketching References) ANIMALS Step-by-Step Mermaid Drawing Guide TIPS Try Random Drawing Prompt Generators Easy & Funny


-
 Artist 12 3rd
X4 Smart Chip Stylus with 16K Pressure Levels
2g Initial Activation Force
11.9-inch FHD Display with 99% sRGB Color Gamut Coverage
Dual X-Dial and Eight Shortcut Keys
One Cable Connection
It features:
Best 12-inch drawing tablet for beginners
-
 Deco Fun XS/S/L
Available in 3 sizes and 4 stunning colors
Supports 8192 levels of pressure sensitivity
Come with a battery-free stylus
It features:
Obtain software Explain Everything for free as bundled.
Want to elevate your drawing skills?
Discover step-by-step tutorials, expert tips, and creative techniques to boost your drawing skills.
