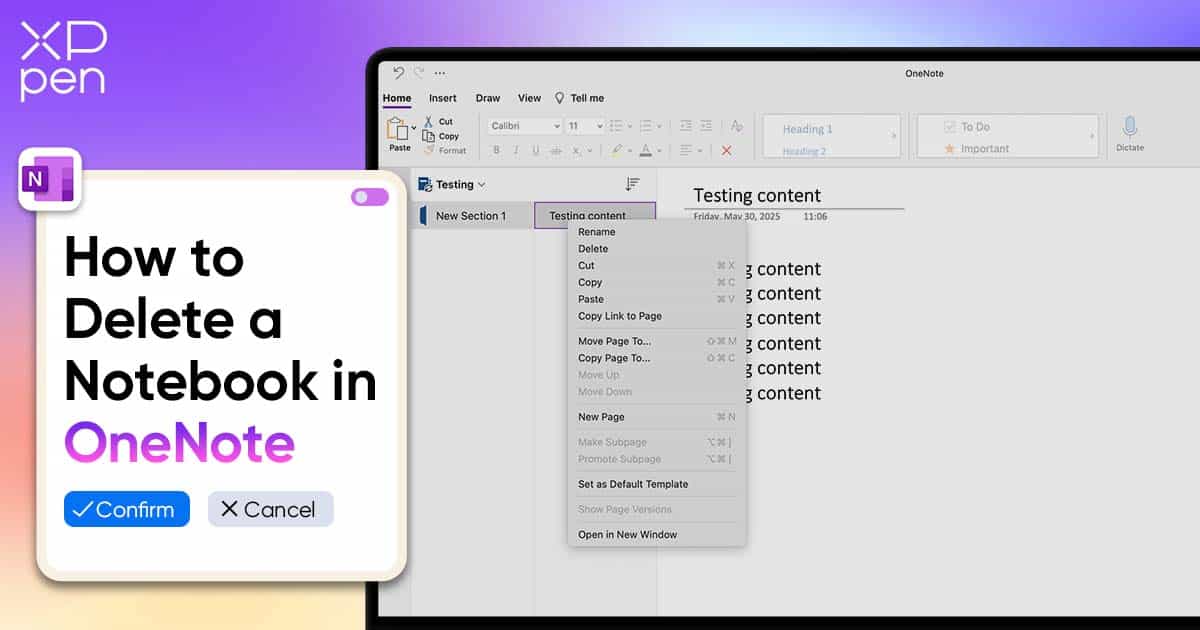
How to Delete a Notebook in OneNote: A Quick and Easy Guide
KNOWLEDGEWhether you’re decluttering your digital life, reorganizing your notes, or removing old content, there comes a time when you need to delete a notebook in OneNote. While creating and editing notebooks is intuitive, deleting one can be surprisingly tricky—especially since OneNote doesn't allow you to delete notebooks directly from the app in most cases. This guide will walk you through the correct steps on different platforms and ensure your data is managed safely.
Before You Delete: Backup and Considerations
Before hitting delete, consider the following:
Back up important content you may want to revisit later.
Check shared access—if a notebook is shared with others, deleting it might affect collaborators.
Understand that deleting a notebook is permanent unless it's recoverable through OneDrive or your system’s recycle bin.
It’s good practice to export or copy notes you may need in the future before proceeding.
Deleting a Notebook on Windows Desktop
Unfortunately, you cannot delete a notebook directly in the OneNote desktop app for Windows. Instead, follow these steps:
Open OneNote and note the name of the notebook you want to delete.
Go to OneDrive.
Navigate to the Documents > OneNote Notebooks folder.
Locate the notebook file (usually ends in
.oneor is a folder with the notebook name).Right-click and choose Delete.
The notebook will move to the OneDrive recycle bin, where it can be restored if needed.
Deleting a Notebook on Mac Desktop
Similar to Windows, deletion must happen via OneDrive:
Open OneNote and identify the notebook to remove.
Visit OneDrive in your browser.
Go to the appropriate folder where your notebook is stored.
Right-click the notebook and click Delete.
This removes the notebook from OneNote across all devices synced with the account.

Deleting a Notebook on the Web Version
If you're using OneNote Online, you can remove notebooks using the following method:
Go to your OneDrive account.
Find the notebook you want to delete.
Click the three-dot menu (•••) next to the notebook.
Select Delete.
Again, remember this deletes the notebook from all connected devices and accounts.
Deleting a Notebook on Mobile Devices (iOS and Android)
You cannot permanently delete notebooks directly from the OneNote mobile apps. However, you can close them:
Open the OneNote app.
Tap the Notebooks tab.
Tap and hold the notebook you want to remove.
Select Close Notebook.
To delete it entirely, you'll still need to go to OneDrive via a browser or desktop.
Recovering a Deleted Notebook: The Trash Bin and Restore Options
If you delete a notebook by mistake, don’t panic:
Go to OneDrive’s Recycle Bin.
Navigate to the deleted notebook.
Select Restore to bring it back to its original location.
OneDrive typically retains deleted items for 30 days before permanently removing them.
Troubleshooting Common Issues During Deletion
If you're unable to delete a notebook:
Make sure OneNote is fully synced and closed on all devices.
Check your OneDrive permissions—you. You may not have the right to delete shared notebooks.
Clear local cache in OneNote if a notebook still appears after deletion.
Also, restarting the app or device can help refresh sync states.
When we manage OneNote notebooks, deleting notebooks that are no longer needed can help keep the workspace tidy and efficient. However, if you like to record inspiration or meeting content by handwriting, in addition to digital note-taking software, hardware devices can also greatly improve your note-taking experience.
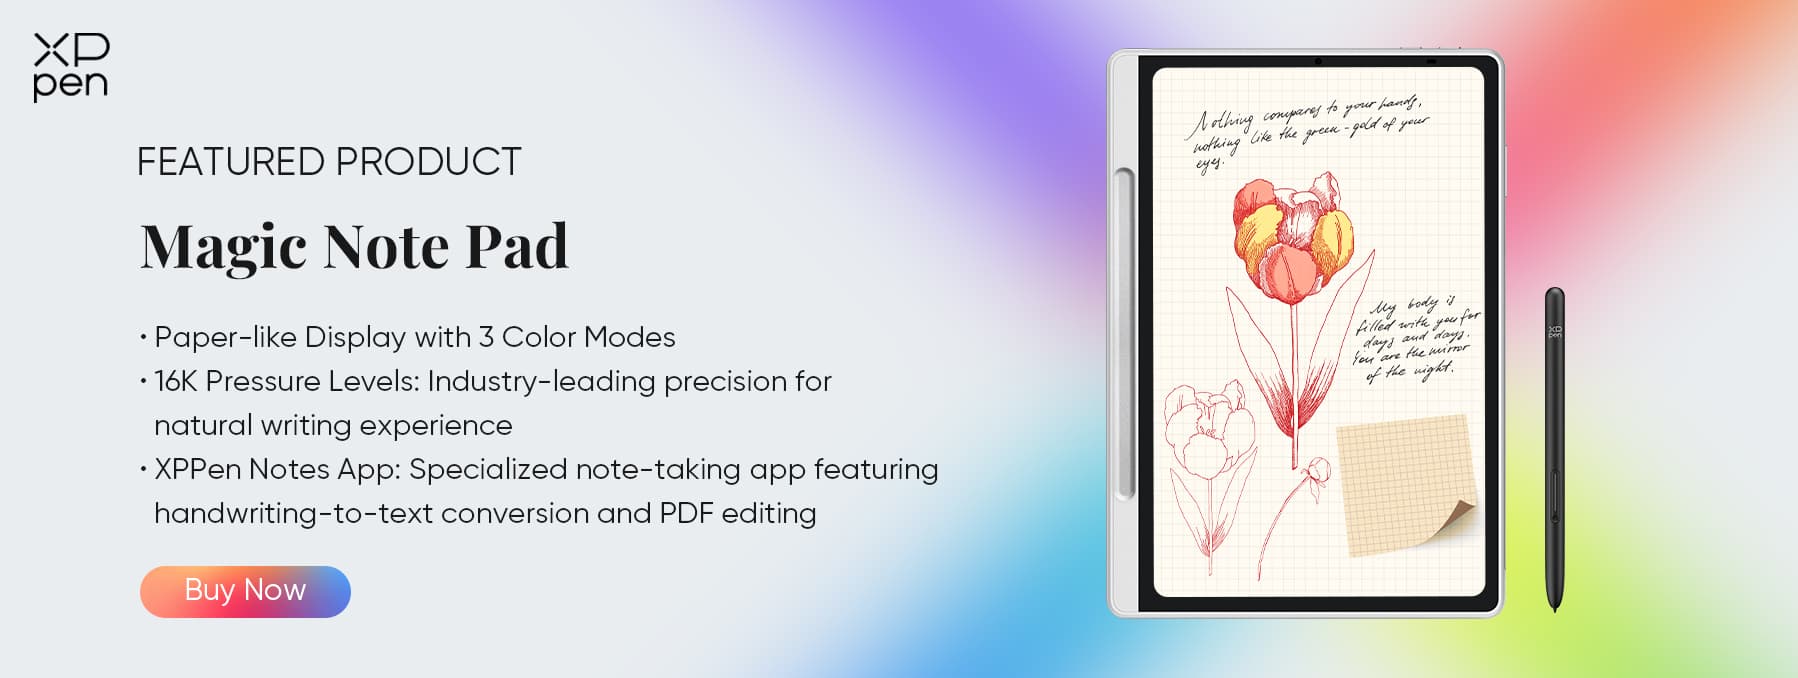
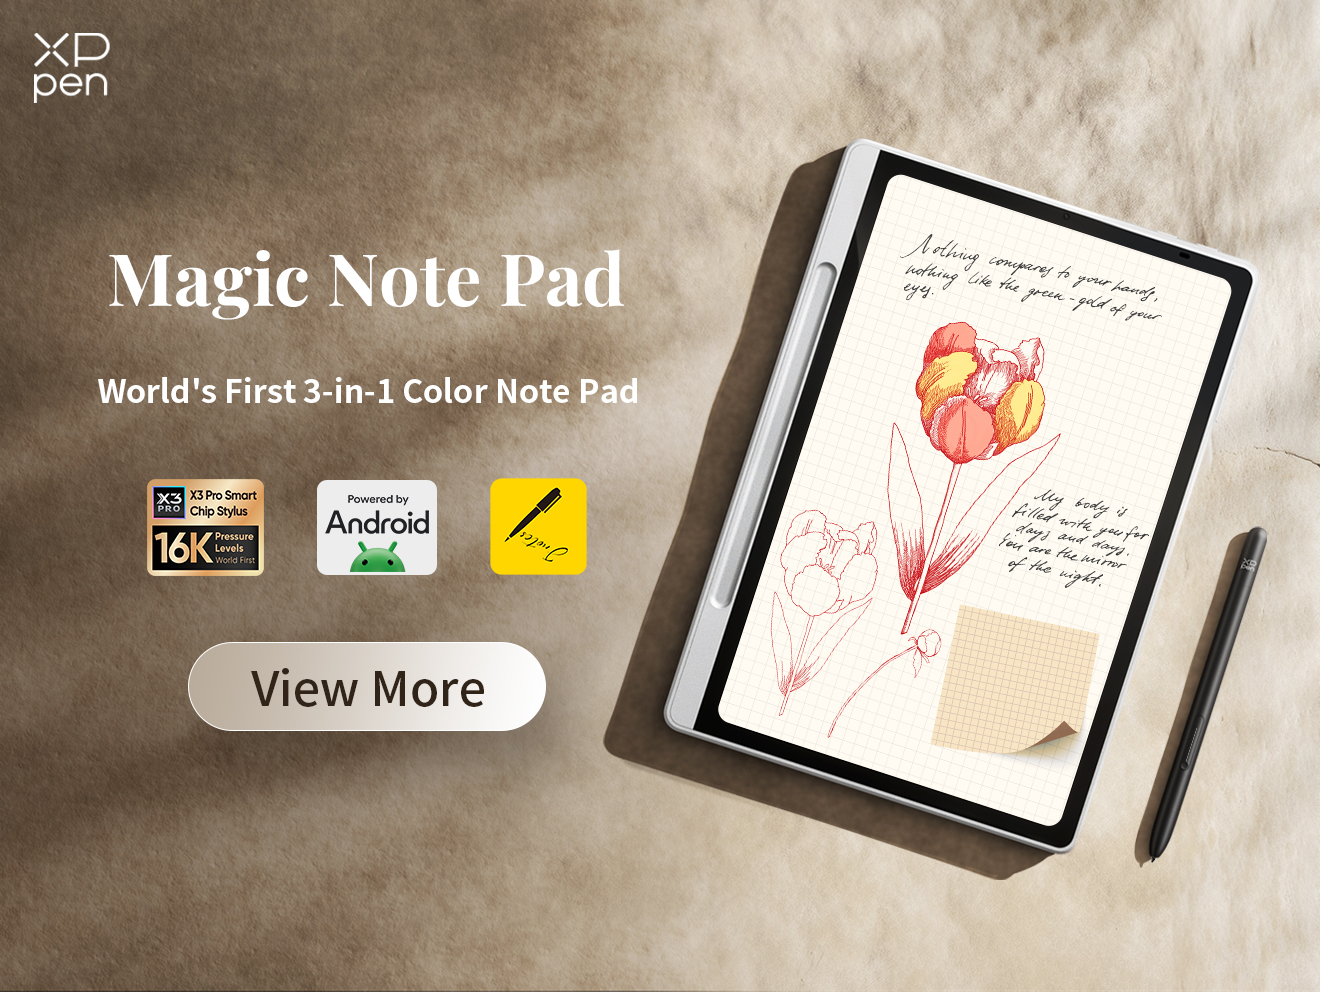
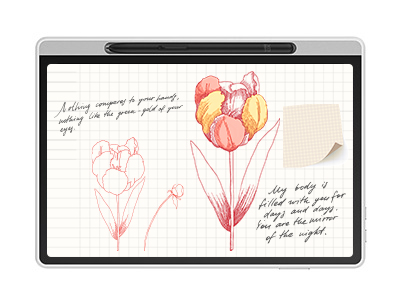
For example, XPPen Magic Note Pad is a handwriting tablet designed for users. It has a writing experience close to paper and a high-pressure pen. When used with OneNote, it can make you take notes more smoothly and naturally. You can first organize your ideas by handwriting on Magic Note Pad, and then export the content to OneNote or other note applications to form a digital note library. In this way, even if a OneNote notebook is deleted, you can still save and manage important handwritten records through Magic Note Pad to ensure that the information is not lost.
Conclusion: Streamline Your Digital Note-Taking
While OneNote doesn't make deleting notebooks straightforward within the app, this guide helps you handle it across platforms with ease. Whether you're cleaning up clutter or reorganizing for better productivity, keeping your notebooks intentional and tidy is essential.
Use powerful digital tools like OneNote alongside smart hardware like the XPPen Magic Note Pad to get the best of both analog and digital organization—helping you stay focused and creative.
About Us
Founded in 2005, XPPen is a leading global brand in digital art innovation under Hanvon UGEE. XPPen focuses on the needs of consumers by integrating digital art products, content, and services, specifically targeting Gen-Z digital artists. XPPen currently operates in 163 countries and regions worldwide, boasting a fan base of over 1.5 million and serving more than ten million digital art creators.
Learn more


Looking for the Best Drawing & Design Apps?
Discover essential drawing techniques, expert tips, and the best app recommendations to boost your creativity and master digital art.
