Drawing a Realistic Rose: Step-by-Step Video Guide
PLANTSAre you looking to create a beautiful and lifelike rose drawing? Look no further! In this tutorial, we'll show you how to draw a realistic rose from scratch in 12 detailed steps.

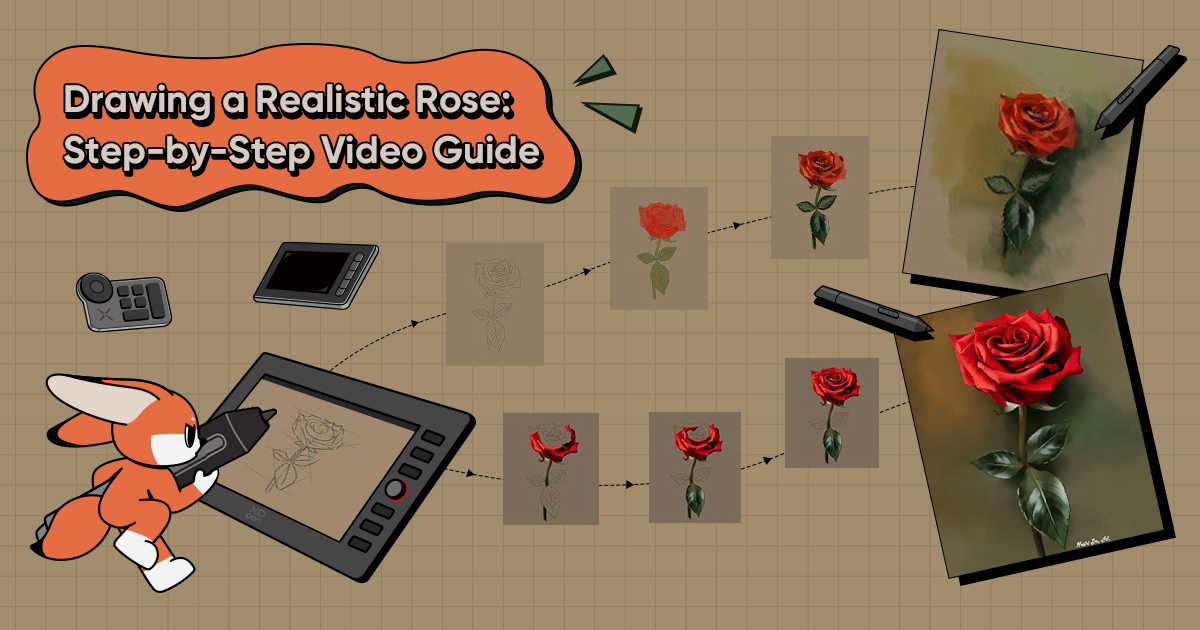
Before we get started, take a look at the image above. This is the final result of our tutorial and we're going to teach you how to create it. With its intricate details and realistic texture, this rose will surely impress any viewer.
But don't worry if you're a beginner! We will start with the basics. We also have a detailed step-by-step video guide available in this blog for your reference. Whether you prefer following written instructions or watching a video, we've got you covered! So grab your drawing tablet and stylus, and let's get started!
Materials Needed
Before we begin, make sure you have the following materials:
1. A drawing tablet (any XPPen tablet is a great choice)
2. A stylus (comes with the drawing tablet)
3. Drawing software (such as Adobe Photoshop or Procreate, for the purpose of this tutorial, we will use Photoshop)
Click on the video below to see how to draw a realistic rose step-by-step.
Step-by-Step Guide
Step 1: Sketch the basic shape

First, let's start by using a digital pencil brush to sketch out the general shape of the rose. Make use of drawing guidelines to confirm the overall structure and proportions of the rose, including the flower core, petals, stem, and leaves. This will give you a good grasp of the basic shape of the flower.
It might seem a bit rough right now, but no need to worry. Just focus on getting that overall shape right, and we can make some adjustments in the next step.
Step 2: Add basic details

Once you're happy with the basic outline, start adding some details to our rose.
As we begin, we can concentrate on adding small lines to the center circle, which will represent the stamen and pistil of the flower. A stamen is the male reproductive organ of a flower, typically consisting of a pollen-containing anther and a filament. The pistil, on the other hand, is the female reproductive part of the flower that typically consists of a stigma, style, and ovary.
Moving on, we can now add more detail to the petals by drawing small lines to represent the veins and texture. These lines will help us determine where to place our highlights and shadows later, creating a more realistic and detailed representation of the rose.
Step 3: Color in the rose

Palette:
Next, let's make our rose more vibrant by adding color. Choose a color palette that you love and start experimenting with different shades and tones to color in the petals and leaves. Don't be afraid to mix and match colors to create unique combinations. To add depth and dimension, try using lighter and darker tones in different areas of the petals.
If you're a beginner and unsure about which colors to use, try referencing a color chart or taking inspiration from the reference image.
Step 4: Add shadows

Palette:
To make the rose look more realistic and lifelike, we need to add shadows and highlights.
Create a new layer and use a soft brush to add some shading to the petals. Make sure to pay attention to the light source and add shadows accordingly.
Note: In drawing, "shades" typically refer to the variation in color or tone within an object, while "shadows" refer to areas that are blocked from light and appear darker as a result. Shadows can help to create the illusion of depth and three-dimensionality in a drawing, while shades can add realism and dimension to an object by highlighting its contours and variations in color or tone.
Step 5: Add highlights

Palette:
Next, create another layer and add highlights to the edges of the petals, where the light would hit the flower. This step is crucial, because it will bring your art to life. Just make sure to keep the highlights in the right place.

Palette:
Step 6: Add final touches to the rose


(You can right-click or long-press on each image to view a high-resolution version.)
Finally, let's add some final touches to our rose to make it look even more realistic.
One way to do this is to use a textured brush to add some more texture and depth to the petals and leaves. You can experiment with different brush sizes and textures to achieve your desired effect.
Another technique to try is to add more highlights and shadows to the rose. This will help to create more contrast and give the rose a more three-dimensional quality.
Be sure to zoom out periodically while you work to get a sense of how the rose is coming along and make any necessary adjustments to your technique. Remember, the key is to balance the level of detail with the overall aesthetic of the piece.
Tip: Remember to create a new adjustment layer each time you want to make a new adjustment.
Thank you for watching today's tutorial on how to draw a rose. We covered the basic steps to create a beautiful rose drawing, and I hope you found it helpful.
If you enjoyed this tutorial, be sure to check out our other drawing tutorials on our website. See you next tutorial!
Start creating realistic roses today with XPPen
Looking to draw realistic roses? XPPen drawing tablets with display screens are the perfect tool for bringing your artwork to life. Our tablets are designed to simulate the feeling of traditional drawing on paper, with features like pressure sensitivity and a wide range of brush options.
Plus, with a high-definition screen that displays images in real-time, you can conveniently view various details that need to be modified while drawing a rose, and draw freely anytime, anywhere!
Recommended product: Artist 13 (2nd Gen)

Other drawing guides:
About Us
Founded in 2005, XPPen is a leading global brand in digital art innovation under Hanvon UGEE. XPPen focuses on the needs of consumers by integrating digital art products, content, and services, specifically targeting Gen-Z digital artists. XPPen currently operates in 163 countries and regions worldwide, boasting a fan base of over 1.5 million and serving more than ten million digital art creators.
Learn moreRecommended Articles
ANIMALS How to Draw a Cute Dog with Simple Steps (Cartoon & Realistic Styles) OTHERS Easy Drawing Ideas for Beginners: 8 Step-by-Step Tutorials


Want to elevate your drawing skills?
Discover step-by-step tutorials, expert tips, and creative techniques to boost your drawing skills.
