Snipping Tool Shortcut Complete Guide for Windows 11/10
KNOWLEDGETaking screenshots is something we all do. Whether for work, school, or just sharing something funny, a good screenshot tool is a must. Windows has a great built-in tool for this called the Snipping Tool. But the fastest way to use it is with a snipping tool shortcut.
This guide will show you the easiest shortcuts for Windows 10 and 11. We will also look at what to do when they don’t work, and how to snip on other devices like a Mac or Chromebook.
Part 1. What Is Snipping Tool
The Snipping Tool is a free screenshot application that comes built into Windows. It lets you capture any part of your screen and save it as an image. Unlike the old “Print Screen” method, which captures your entire screen and forces you to paste it into another program, the Snipping Tool gives you more control.
Here is what you can do with it:
-
Select a specific rectangular area to capture
-
Draw a freeform shape around what you want to save
-
Capture a single window without anything else
-
Take a full‑screen screenshot in one click
The tool also includes basic editing features. After you take a snip, you can use a pen or highlighter to mark it up before saving. You can also set a delay of a few seconds, which is extremely helpful when you need to capture something that only appears when you hover your mouse over it, like a dropdown menu.
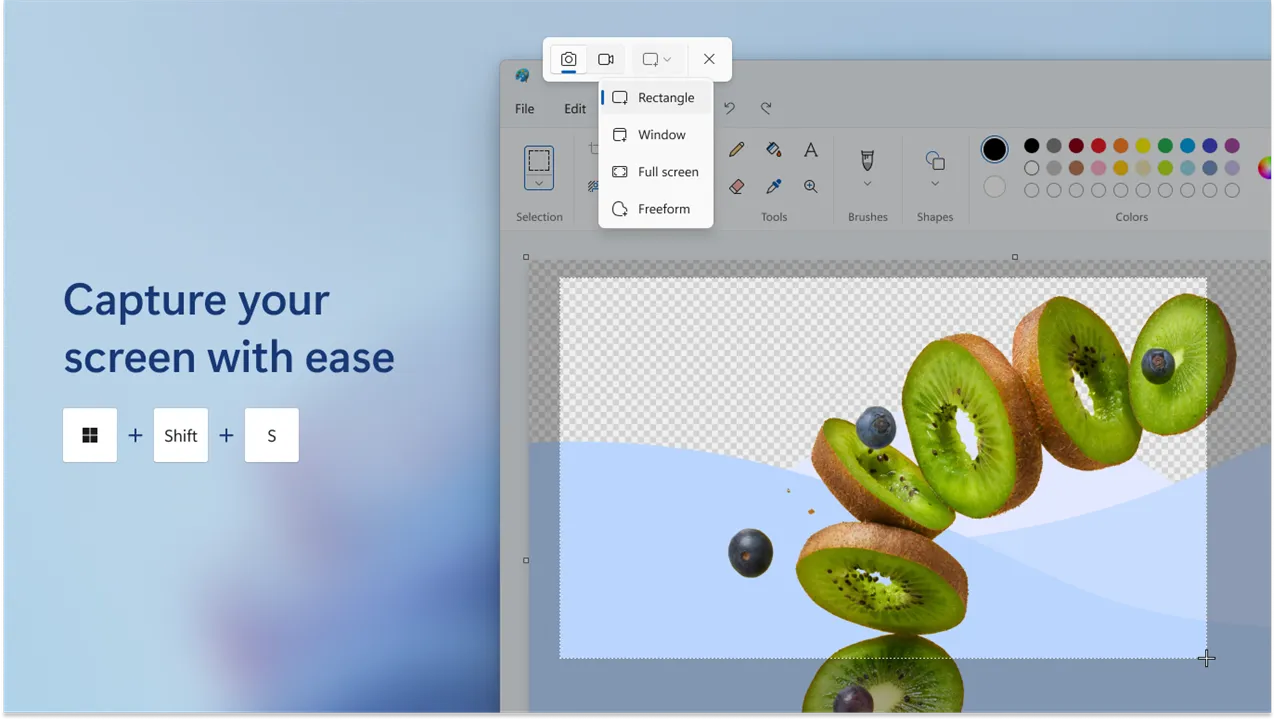
You usually don't need to download the Snipping Tool—it comes pre‑installed with Windows. Just type "Snipping Tool" in the search bar next to the Start menu to find it.
On Windows 10 and 11, Microsoft has combined the old Snipping Tool and Snip & Sketch into one updated app. If for some reason you don't have it, you can download it for free from the Microsoft Store by searching for "Snipping Tool." Just make sure your Windows is up to date for the best experience.
Part 2. How to Use Snipping Tool Shortcut on Windows 11 and 10
The most important shortcut for the Snipping Tool is Windows + Shift + S . This is the one you will use most often, and it works the same way on both Windows 10 and Windows 11.
When you press these three keys together, your screen will dim slightly and a small bar will appear at the top of your screen. This bar gives you four options for capturing your screen:
-
Rectangular snip – draw a rectangle around an area
-
Freeform snip – draw any shape you want
-
Window snip – capture a specific open window
-
Full‑screen snip – capture your entire screen
Once you make your selection, the screenshot is instantly copied to your clipboard. That means you can paste it directly into an email, a document, or a messaging app by pressing Ctrl + V. A notification will also appear, and if you click on it, you can open the image in the Snipping Tool to edit or save it.
Beyond the main shortcut, there are several other shortcuts that can make your workflow even smoother once the Snipping Tool window is open.
| Shortcut | What It Does |
|---|---|
| Windows + Shift + S | Open the snipping bar to take a screenshot |
| Alt + M | Switch between different snipping modes |
| Alt + N | Take a new snip using the same mode as before |
| Alt + D | Delay the capture by 1 to 5 seconds |
| Ctrl + C | Copy the snip to your clipboard |
| Ctrl + S | Save the snip as an image file |
These shortcuts are easy to remember and can save you a lot of time once you get used to them. For example, if you frequently need to capture dropdown menus, the Alt + D delay feature is a real lifesaver.
Part 3. Snipping Tool Shortcut Not Working
It can be incredibly frustrating when Windows + Shift + S suddenly stops responding. You press the keys, but nothing happens. Fortunately, this is a common issue and there are several straightforward ways to fix it.
1. Restart the Snipping Tool
Open Task Manager by pressing Ctrl + Shift + Esc, find Snipping Tool in the list of running apps, right‑click on it, and select “End task.” Then try the shortcut again. This often solves the problem immediately.
2. Repair or reset the app
Go to Settings, then Apps, and find Snipping Tool in the list. Click on it, select Advanced options, and try the Repair button first. If that does not help, click Reset to clear the app’s data and restore it to a fresh state.
3. Check your Windows key
Some keyboards have a lock for the Windows key, often activated by pressing Fn + Windows. If the Windows key is locked, the Start menu won’t open when you press it alone, and the shortcut won’t work either. Unlock it and try again.
4. Check for Windows updates
Sometimes a system update accidentally breaks the shortcut, and Microsoft releases a fix in a later update. Keeping your system updated ensures you have the latest fixes.
Snipping tool shortcut no windows key – what to do?
This is actually a common situation, and there is a simple fix. You can assign the Print Screen key to do the job instead.
Here is how to set it up:
-
Open Settings (press Windows + I if your Windows key still works, or find it in the Start menu).
-
Go to Accessibility and select Keyboard from the menu on the left.
-
Turn on the option that says “Use the Print Screen button to open screen snipping.”
Once this is enabled, pressing the PrtScn key will do exactly the same thing as Windows + Shift + S. The snipping bar will appear, and you can capture your screen just as you normally would.
Part 4. Snipping Tool on Mac/Chromebook/Windows 7
The Snipping Tool is exclusive to Windows, so if you are using a different operating system, you will need to use its native screenshot shortcuts instead.
On Mac
There is no tool named “Snipping Tool,” but the built‑in screenshot features are just as powerful.
-
Shift + Command + 4 lets you click and drag to select any part of your screen.
-
Shift + Command + 3 captures the entire screen instantly.
-
For a specific window, press Shift + Command + 4, then hit the Spacebar, and click on the window you want.
On Chromebook
The screenshot shortcuts are also simple.
-
Ctrl + Show windows takes a full‑screen screenshot. (The “Show windows” key is usually on the top row and looks like a rectangle with two vertical lines next to it.)
-
Ctrl + Shift + Show windows lets you click and drag to select a specific area. All screenshots are automatically saved to your Downloads folder.
On Windows 7
The Snipping Tool does exist, but there is no built‑in keyboard shortcut like Windows + Shift + S. That shortcut was introduced in later versions of Windows.
The easiest way to open the Snipping Tool quickly on Windows 7 is to pin it to your taskbar. Once pinned, press Windows plus the number key that matches its position on the taskbar. For example, if it is the first icon, pressing Windows + 1 will open it. It is not as smooth as the modern shortcut, but it is still a useful trick.
FAQs about Snipping Tool Shortcut
Q1: How to snip and paste on PC?
The fastest way is to press Windows + Shift + S. Select the area you want to capture. The image is automatically copied to your clipboard. Then, just press Ctrl + V to paste it anywhere you want.
Q2: How to take a screenshot with a snipping tool?
Use the shortcut Windows + Shift + S. This will open the snipping bar. Choose your mode (Rectangle, Freeform, Window, or Fullscreen) and select the area you want.
Q3: How to Ctrl screenshot?
There is no Ctrl-based shortcut for the Snipping Tool. The main shortcut is Windows + Shift + S. Once you take the screenshot, it is on your clipboard, and you can paste it with Ctrl + V.
Q4: Why is Windows Shift S not working?
This is a common issue. Try restarting the app by ending it in Task Manager, or repair and reset the app in Settings > Apps > Installed apps > Snipping Tool > Advanced options . Also, make sure your Windows key is not locked.
Extra Tip: Speed Up Your Workflow with the Right Tools
While the Snipping Tool is excellent for basic screenshots, sometimes you need more than just an image. If you often find yourself needing to edit videos or photos, etc., you might benefit from a more advanced tool.
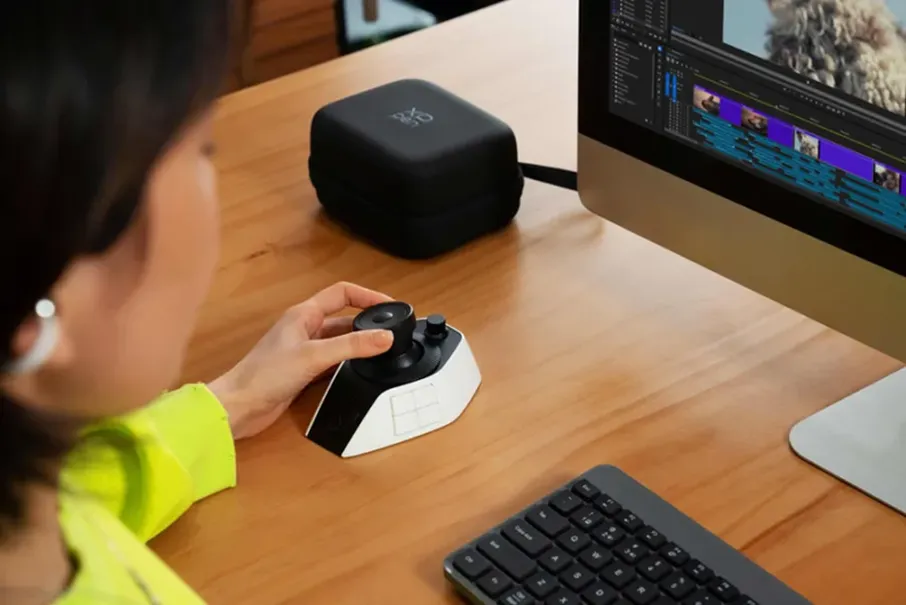
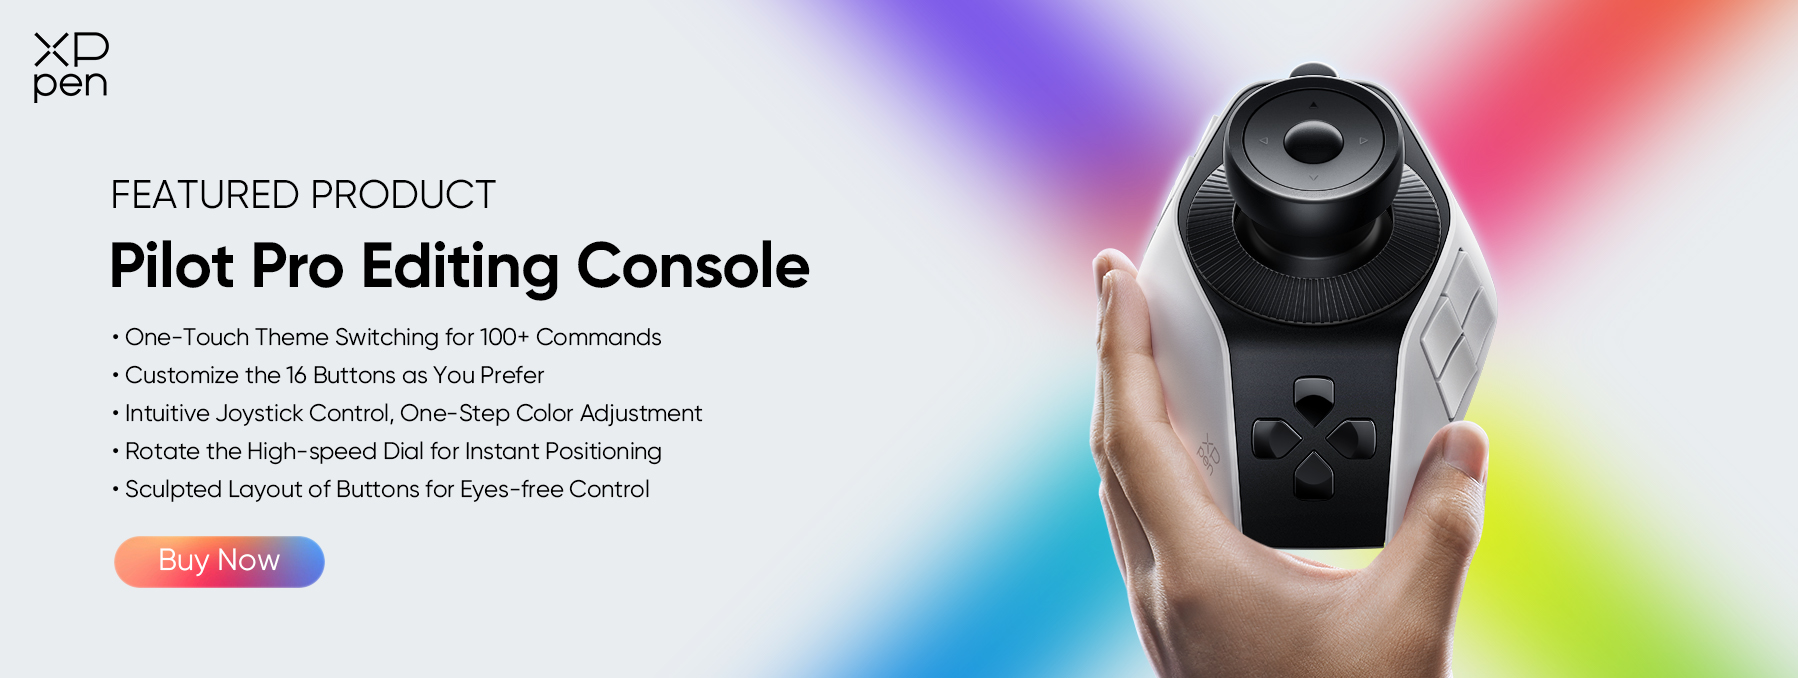
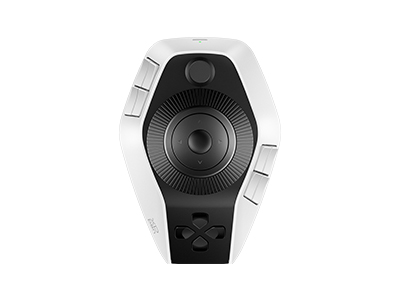
This is where a device like the XPPen Pilot Pro Editing Console comes in. It is a physical controller that gives you programmable buttons and dials, allowing you to assign shortcuts for editing and other repetitive tasks.
Conclusion
The Snipping Tool is a powerful and simple tool for taking screenshots. The best snipping tool shortcut , Windows + Shift + S, makes it incredibly fast and easy.
By learning a few of these shortcuts, you can save a lot of time. If you run into problems, the troubleshooting steps above will usually get you back on track quickly.
About Us
Founded in 2005, XPPen is a leading global brand in digital art innovation under Hanvon UGEE. XPPen focuses on the needs of consumers by integrating digital art products, content, and services, specifically targeting Gen-Z digital artists. XPPen currently operates in 163 countries and regions worldwide, boasting a fan base of over 1.5 million and serving more than ten million digital art creators.
Learn moreRecommended Articles
TIPS Windows 11 Keyboard Shortcuts: 2026 Complete Guide KNOWLEDGE How a Shortcut Controller Can Save Time for Artists KNOWLEDGE DaVinci Resolve Shortcuts for Mac & Windows [The Complete Guide] KNOWLEDGE 2026 Lightroom Shortcuts for Windows & Mac





Looking for the Best Drawing & Design Apps?
Discover essential drawing techniques, expert tips, and the best app recommendations to boost your creativity and master digital art.
