Best Vlog Editing Workflows for Beginners & Pros 2026
KNOWLEDGECreating great vlogs is no longer only about recording interesting moments. The real work often starts after filming. Good editing turns raw clips into engaging videos that people enjoy watching from beginning to end.
Many creators struggle because they edit without a system. They spend too much time searching for files, cutting footage, choosing music, and exporting videos.
In this guide, you'll learn professional vlog editing workflows , recommended software and hardware.
Part 1. What Is the Workflow of Vlog Editing
A vlog editing workflow is the step-by-step process used to organize, edit, review, and publish a vlog. Instead of randomly editing clips, creators follow a structured sequence that helps them finish projects faster while maintaining quality.
Professional editors rely on vlog editing workflows because they reduce mistakes, improve efficiency, and make editing more predictable. Beginners benefit even more because a clear workflow removes guesswork and helps them focus on storytelling.
Key Steps for an Effective Vlog Editing Workflow
1. Organize Footage
Start by transferring all footage to organized folders for video clips, audio files, music, graphics, thumbnails, and exports. Organized files form the foundation of successful vlog editing workflows.
2. Review and Sort Clips
Watch every clip before editing to mark the best moments, important conversations, B-roll footage, as well as mistakes and unusable shots. This step prevents unnecessary searching later.
3. Create a Rough Cut
Place clips in chronological order, focusing on story flow rather than perfect timing. Remove obvious mistakes and long pauses before adding effects.
4. Refine the Edit
Trim clips more precisely and improve pacing by removing dead space, repetitive scenes, long transitions, and off-topic sections. This stage is where many important editing techniques are applied.
5. Add Music and Audio Adjustments
Adjust voice volume, background music levels, noise reduction, and sound effects. Good audio quality keeps viewers engaged as much as video quality does.
6. Add Graphics and Titles
Use titles, lower thirds, captions, and transitions only when they add value. Avoid excessive effects that distract from the story.
7. Color Correction and Color Grading
Correct exposure and white balance first, then apply a consistent visual style across the entire vlog.
8. Final Review and Export
Watch the entire video before exporting to check audio levels, spelling errors, missing clips, and visual consistency. Finally, export using settings appropriate for YouTube or your chosen platform.These steps create reliable vlog editing workflows that work for beginners and professionals alike.
Part 2. What Do Vloggers Use to Edit
Creators use different software depending on experience, budget, and editing needs. The best option depends on your workflow and content style.
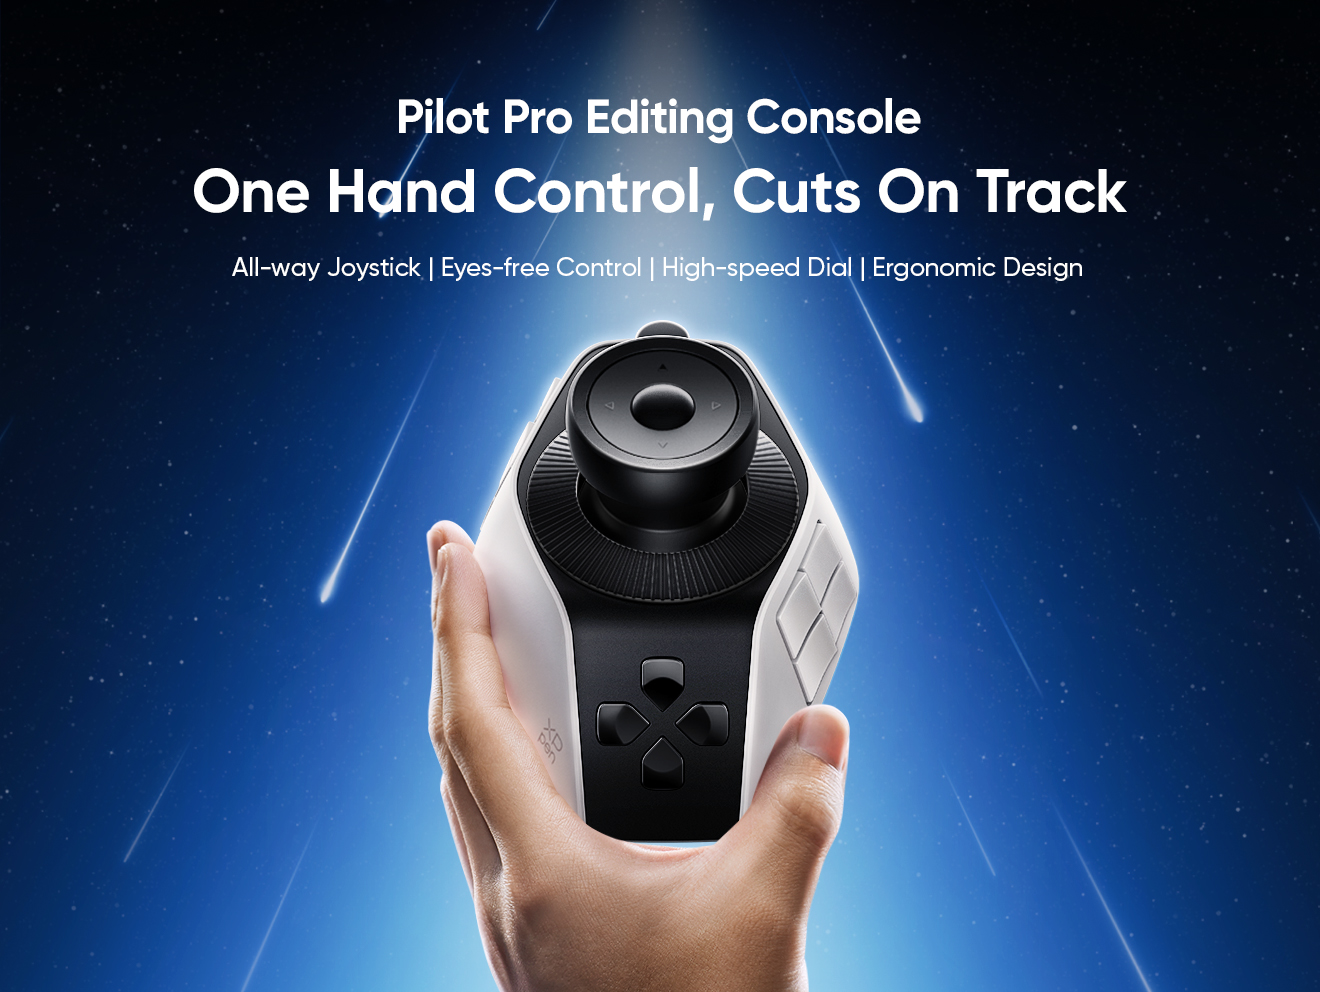
1. XPPen Pilot Pro Editing Console
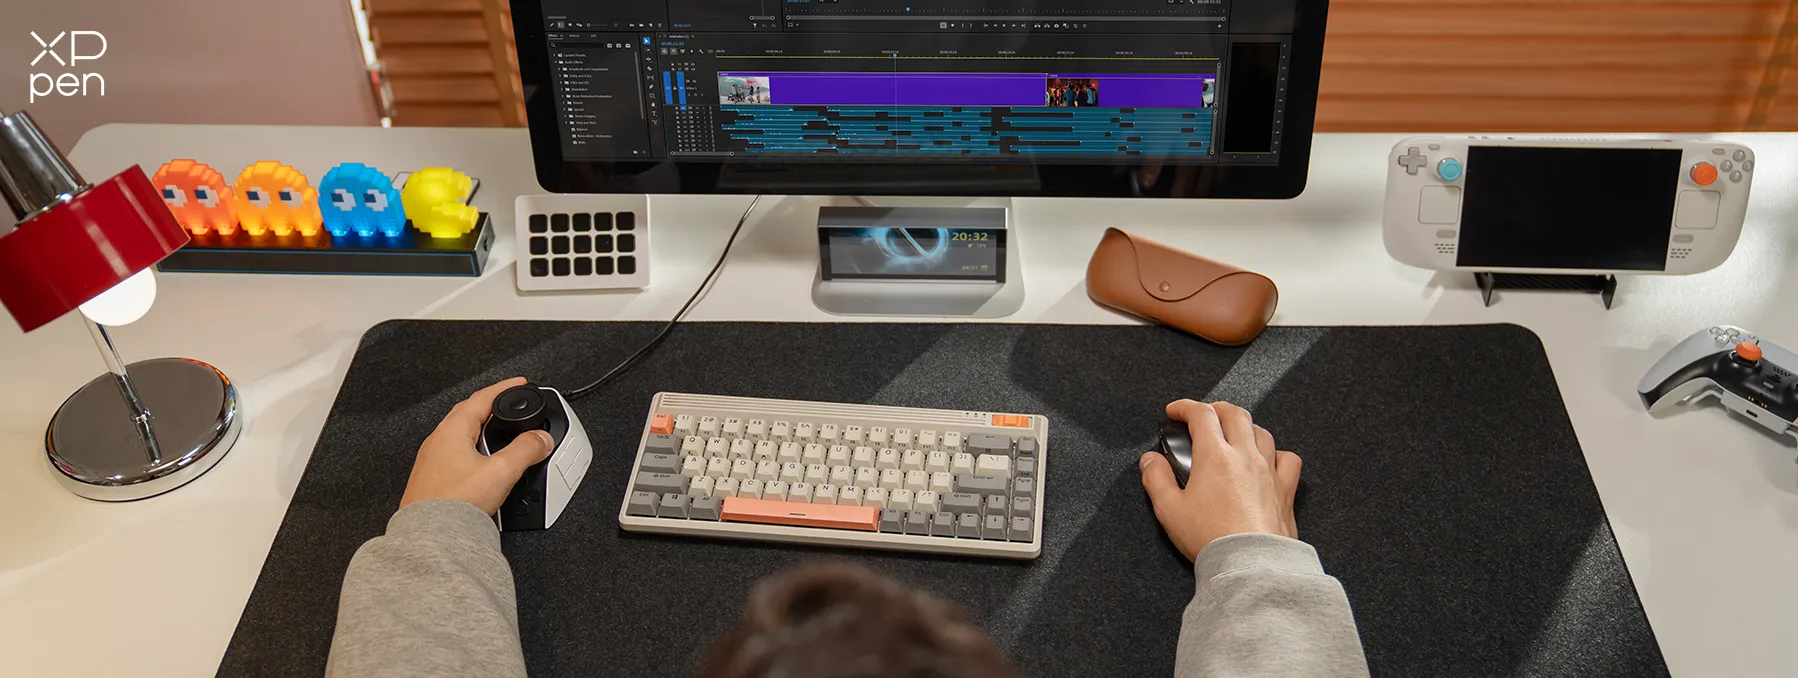
The XPPen Pilot Pro Editing Console is a powerful editing controller designed to speed up vlog editing workflows and reduce repetitive keyboard and mouse use. It gives creators physical control over key editing actions, making long editing sessions smoother and more efficient.
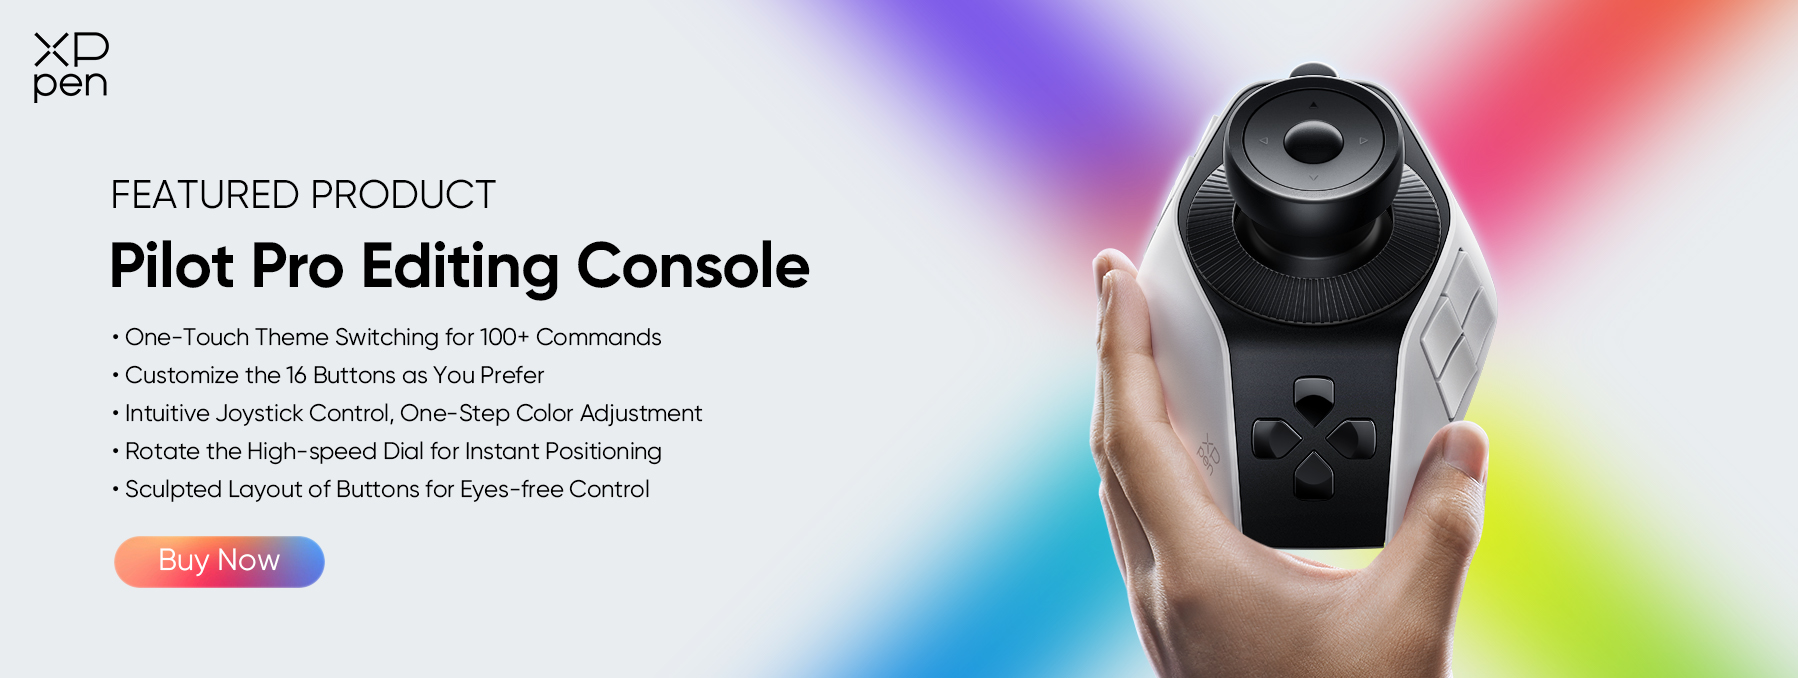
Instead of clicking through menus, editors can assign shortcuts to dials, knobs, and buttons for faster control. This helps improve precision, speed, and comfort during editing, especially for large projects.
This device helps vloggers build a more efficient editing setup by combining speed, precision, and comfort. It is especially useful for creators handling daily uploads or long-form content where small time savings add up significantly.
2. Adobe Premiere Pro
Adobe Premiere Pro remains one of the most popular choices among vloggers. Many professional vlog editing workflows are built around Premiere Pro.
3. DaVinci Resolve
DaVinci Resolve offers impressive editing tools and professional color grading features. It is a strong option for creators learning how to create a vlog while keeping costs low.
4. CapCut Desktop
CapCut has become increasingly popular among content creators. It works particularly well for beginners following a vlog editing tutorial.
Part 3. Ways to Speed Up the Vlog Editing Workflows
Even experienced editors look to finish projects faster without sacrificing quality. Here are proven methods.
-
Create editing templates – Save intros, outros, text animations, lower thirds, and audio settings to cut repetitive work.
-
Use keyboard shortcuts – Master cut, ripple delete, undo, zoom, and playback for faster editing.
-
Organize assets beforehand – Prepare footage, music, graphics, and sound effects to avoid searching for files.
-
Start with story – Focus on narrative flow and scene arrangement before adding effects.
-
Batch similar tasks – Cut all clips, then adjust audio, add captions, and color grade in order.
-
Use an editing controller – Devices like the Pilot Pro speed up timeline navigation, frame adjustments, audio control, and color grading.
-
Build a repeatable process – Follow a consistent workflow to work faster, reduce errors, and deliver content regularly.
Part 4. Vlog Editing Workflows Checklist
Every creator benefits from a simple editing checklist. Before starting your next project, make sure you complete each stage.
| Stage | Tasks |
|---|---|
| Pre-Editing | Transfer footage, create folders, backup files, organize media, rename clips |
| Editing | Review footage, build rough cut, remove mistakes, improve pacing, add B-roll, insert transitions |
| Audio | Normalize voice, remove noise, add background music, balance levels, check playback |
| Visual Improvements | Add titles, insert captions, correct colors, apply style, review graphics |
| Final Review | Watch full video, check spelling, verify music licensing, confirm export settings, create thumbnail |
| Publishing | Upload video, add title, write description, add tags, schedule publication |
Using a checklist keeps vlog editing workflows organized and repeatable.
Part 5. Best Vlog Editing Ideas for Beginners & Professionals
Good editing combines technical skills with creative decisions. These ideas can improve any video.
-
Cut every scene with purpose – Keep only clips that move the story forward, add information, or improve entertainment.
-
Use B-roll to support storytelling – Add visual variety and context to keep viewers engaged.
-
Focus on audio quality – Use external mics, reduce noise, and keep volume consistent.
-
Learn basic color correction – Adjust brightness, contrast, white balance, and saturation for cleaner footage.
-
Use captions strategically – Highlight key statements, important tips, or emphasized moments.
-
Develop a consistent editing style – Stick to similar fonts, colors, intros, music, and transitions.
Whether you’re a beginner or a pro, these habits improve your results over time.
Part 6. FAQs About Vlog Editing Workflows
Q1: What is the 3:2:1 rule in video editing?
The 3:2:1 rule refers to backup management. Keep three copies of your files, store them on two different storage devices, and keep one copy off-site or in cloud storage. This protects footage from accidental loss.
Q2: What sites do vloggers use for license-free images and music?
Many creators use resources such as Artlist, Pexels, Pixabay, Unsplash, and the YouTube Audio Library for royalty-free music, sound effects, videos, and images.
Q3: Which app is best for vlog editing?
There is no single best option for everyone. Beginners often prefer CapCut or Filmora because they are easier to learn. Professionals commonly use Adobe Premiere Pro, DaVinci Resolve, or Final Cut Pro because of their advanced editing capabilities.
Q4: How long should it take to edit a vlog?
Editing time varies based on complexity. A simple 10-minute vlog may take one to three hours. More detailed projects with color grading, graphics, captions, and advanced vlog editing techniques can require five to ten hours or more.
Conclusion
Successful vlog creators use repeatable workflows. They organize footage, edit efficiently, and publish consistently. Whether you are new to vlogging or a pro, a good workflow saves time and improves quality.
Start with file organization, a rough cut, audio and visual polish, and a checklist. As you grow, tools like the XPPen Pilot Pro Editing Console can help with timeline control and repetitive tasks. Small improvements lead to smoother editing and better videos.
About Us
Founded in 2005, XPPen is a leading global brand in digital art innovation under Hanvon UGEE. XPPen focuses on the needs of consumers by integrating digital art products, content, and services, specifically targeting Gen-Z digital artists. XPPen currently operates in 163 countries and regions worldwide, boasting a fan base of over 1.5 million and serving more than ten million digital art creators.
Learn moreRecommended Articles
TIPS 18 Best Free Video Editing Software No Watermark in 2026 TIPS 10 Best Amazing Apps For Photo and Video Editing On Android KNOWLEDGE 2026 Lightroom Shortcuts for Windows & Mac FOCUSED 5 Best Video Editing Controller 2026 for Beginners & Pros


Looking for the Best Drawing & Design Apps?
Discover essential drawing techniques, expert tips, and the best app recommendations to boost your creativity and master digital art.
