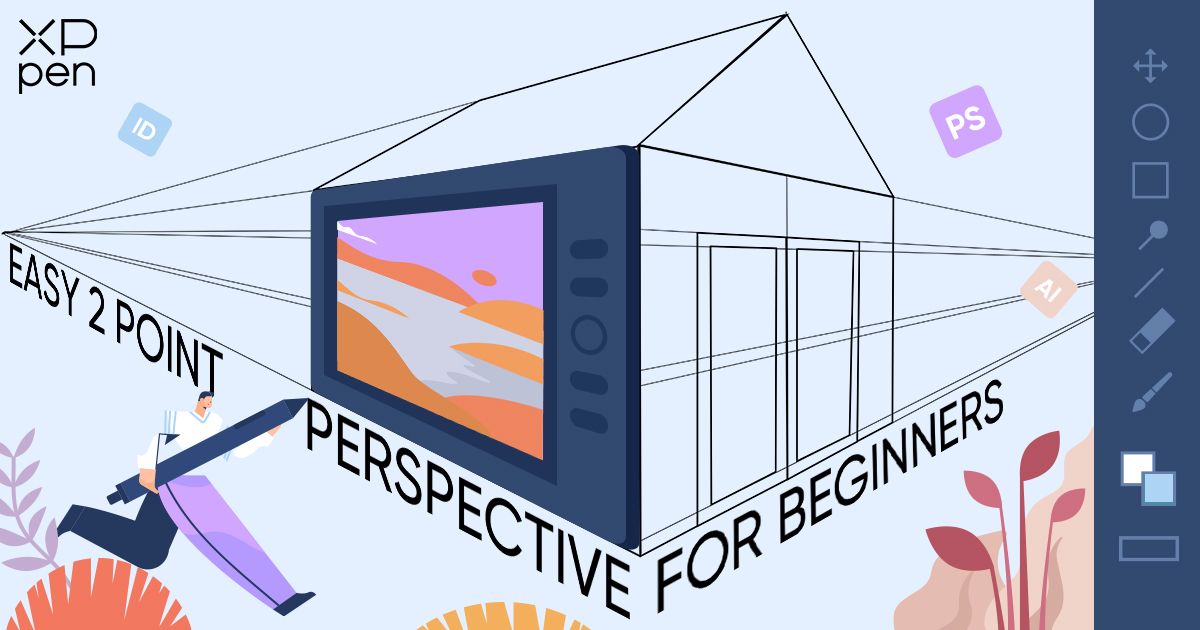
Easy 2-Point Perspective Drawing for Beginners
OTHERSWhen you first start drawing, you may copy characters or scenes without thinking much about structure or perspective. But eventually, you realize that your drawings lack realism and beauty compared to experienced illustrators' work. That's when you discover the importance of art theories and techniques, including the concept of two-point perspective.
In this article, we'll explore a two-point perspective from a beginner's viewpoint. We'll explain what it is and teach you how to apply it to your drawings and real-life observations.
Starting from scratch is a familiar experience for every artist. We know that mix of excitement and confusion. So, get ready to embrace the power of a two-point perspective. It will bring depth, dimension, and a touch of artistic brilliance to your creations.
So grab your sketchbook, sharpen your pencils, and join us on this journey of discovering the artistry behind two-point perspective. Let's begin!
What is perspective drawing?
Before we discuss perspective, we need to understand the concept of spatial awareness.
No matter what style of drawing or painting is used, the subject of the art typically exists in 3D space. In order to recreate the three-dimensional sense of space in a 2D flat canvas, you would need to have a certain sense of space.
Think of it as if you're solving a 3D geometry math problem. For example, when you see a house, you can identify its front view, side view, or even the top view. When you see a house, you need to be able to locate the roof, walls, floors, etc., and mentally draw their position in space.
If you don't have spatial awareness yet, your tendency would lead to thinking of drawing in 2D. Whether it is sketching or color rendering, if there is no spatial awareness, there will be structural problems that would look "weird".
So, what is perspective drawing and how can we consciously cultivate spatial awareness? This is where perspective techniques come in.
Perspective drawing is a drawing technique that provides the illusion of spatial depth or perspective which uses angled lines that converge at a point or point in the distance.
Think of it this way, perspective drawing aims to show an object in 3D on a 2D page. The artist uses lines to show how an object appears to the eye, capturing the variations in shape and size of the drawing.
Perspective drawing is important in art because it helps objects be perceived on paper. To make the art livelier on paper, using techniques in perspective drawing is necessary.
Visually, nearby objects appear larger and distant objects appear smaller. The same principle applies to painting. The perspective method uses the distance between objects and the vanishing point to determine their distance on the plane.
According to the number of vanishing points, perspective can be divided into one-point perspective and two-point perspective.
Perspective-related professional terms
Before we go further, let's discuss common technical terms we need to know to fully understand the concept of two-point perspective.
Horizon Line
The horizon line is the foundation line where your eye level is to the art. It is the intersection that separates the ground and the sky or the water and the sky, for example.
Eye Level Line
The eye level line is the angle of view of your eyes. If it is a photo, it is the angle of the camera lens. It will determine whether your angle of view is a ground-level view, an aerial view, or a looking-up view.
Ground-level view:

Aerial view:

Looking-up view:

Vanishing Point
The vanishing point is the intersection of parallel lines in a perspective view. It's where parallel lines, like train tracks or the edges of buildings, seem to come together or converge. By using vanishing points, artists can create the illusion of depth and distance in their drawings, making them look more realistic and three-dimensional.
The most common example is a highway. You can see that in the figure below, except for the line parallel to the horizon, all the lines will eventually converge at a point, which is the vanishing point.

What is 2 point perspective drawing?
It's where parallel lines, like train tracks or the edges of buildings, seem to come together or converge. By using vanishing points, artists can create the illusion of depth and distance in their drawings, making them look more realistic and three-dimensional.
One-point perspective uses one vanishing point to create a three-dimensional effect in the picture. Since the eye level is parallel to the horizon, the vanishing point falls on the horizon. In one-point perspective, all the lines in the artwork converge to a single vanishing point on the horizon line. This technique is commonly used when drawing scenes with a single focal point, such as a straight road or a hallway. The objects in the drawing will appear to recede into the distance from that single point.
One-point perspective is often used to create simple pictures, such as when depicting a front view of a room or a street.
On the other hand, a two-point perspective uses two vanishing points on the horizon line. This technique is ideal for drawing scenes with multiple angles and corners, like a cityscape or a room. The lines in the drawing will converge towards one of the two vanishing points, giving a more dynamic and three-dimensional effect. Usually, these two vanishing points will be at the far left and right of the picture, even beyond the scope of the picture.

After drawing the auxiliary line on the screen, it will look like this:

It can be observed that there are two vanishing points that both fall outside the picture. Since the horizon is parallel to the picture plane, usually both vanishing points fall on the horizon.
The reason why two-point perspective and one-point perspective are different is that their angles of sight and observation vary.
In a one-point perspective, we stand in front of the object to observe it, and the surface facing us is a normal plane without deformation. In a two-point perspective, we view the object from a certain angle, and we can see two facades except for the top or bottom. The planes are all deformed, and their edges converge to the vanishing point.
To visualize the difference, imagine standing in a long hallway (one-point perspective) versus standing at a street corner surrounded by buildings (two-point perspective). In the hallway, all the lines will seem to meet at a single point in the distance, while in the cityscape, the lines will converge towards two different points, creating a more complex and realistic representation of space.
The two-point perspective method is often used to draw the appearance of buildings, such as in the background of comics and so on. When applying a two-point perspective, be careful not to make the distance between the two vanishing points too close. If you do, the picture will be distorted. Instead, pull the vanishing points as far apart as possible within an acceptable range.
Step-by-step tutorial: How to draw perspective drawing
Now that you have grasped the basic concepts of one-point and two-point perspective, let's start right away with a step-by-step exercise. Whether you're using simple paper and pencil or a digital drawing tablet and stylus, following the steps below will make it easy.
One-point Perspective
Step 1: First, we draw a horizon line on the paper, and then draw a vanishing point on this line. Then we draw multiple squares anywhere. The longer the side of the square, the closer its final cube is to you.

Step 2: Next, connect the three points of the square near the vanishing point to the vanishing point with an auxiliary line. You can use a lighter color or a dotted line to distinguish it from the line of the real cube.

Step 3: Fill up the remaining sides of the cube. You can freely decide the width according to your own preferences, so you will have three cubes in this space! These cubes are all drawn in a one-point perspective with the front facing you.


Two-point Perspective
Step 1: First, we draw the horizon line just like a one-point perspective. Then, we draw two vanishing points at both ends of the line.

Step 2: Next, at any point between the two vanishing points, draw the closest height to your eyes, and then use this height as a benchmark to extend four lines connecting to the vanishing point.

Step 3: Connect the two heights with another unconnected vanishing point, and fill in the remaining lines of the cube so that you have a cube drawn in two-point perspective.


Have you tried drawing it? Just follow the steps above and create more cubes. The following picture also contains a cube whose height intersects with the horizon. Do you know why the other cubes can be seen with three faces, but this one can only be seen with two? Let’s discuss the answer in the comment section!

Get started with XPPen drawing tablet
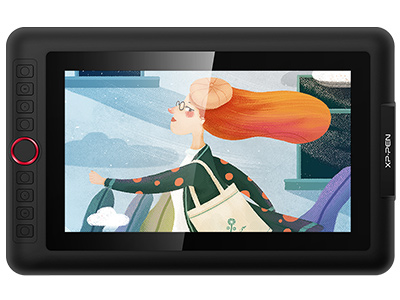
If you're looking for a high-quality drawing tablet for practicing the 2-point perspective, we highly recommend the XPPen Artist 12 Pro. This device is the best-selling drawing tablet on the market and has received rave reviews from artists and designers alike.
The Artist 12 Pro is popular for its exceptional build quality and advanced features. It is made from high-quality materials with a sleek, modern design. The tablet has a large, high-resolution screen that provides crystal-clear images and advanced pressure sensitivity technology for precise line control.
All of the examples in this article were created using the XPPen Artist 12 Pro. So if you're looking for a drawing tablet that can help you create stunning, professional-quality artwork, look no further than it.

Other drawing tutorials you may be interested:
Step-by-Step Tutorial: How to Draw a Dog
Easy Drawing Guide: How to Draw a Cat Face
About Us
Founded in 2005, XPPen is a leading global brand in digital art innovation under Hanvon UGEE. XPPen focuses on the needs of consumers by integrating digital art products, content, and services, specifically targeting Gen-Z digital artists. XPPen currently operates in 163 countries and regions worldwide, boasting a fan base of over 1.5 million and serving more than ten million digital art creators.
Learn moreRecommended Articles
ANIMALS How to Draw a Cute Dog with Simple Steps (Cartoon & Realistic Styles) ANIMALS How to Draw a Wolf: Step-by-Step Guide for Beginners PLANTS Drawing a Realistic Rose: Step-by-Step Video Guide OTHERS Easy Drawing Ideas for Beginners: 8 Step-by-Step Tutorials


Want to elevate your drawing skills?
Discover step-by-step tutorials, expert tips, and creative techniques to boost your drawing skills.
