


Magic Drawing Pad
NEW
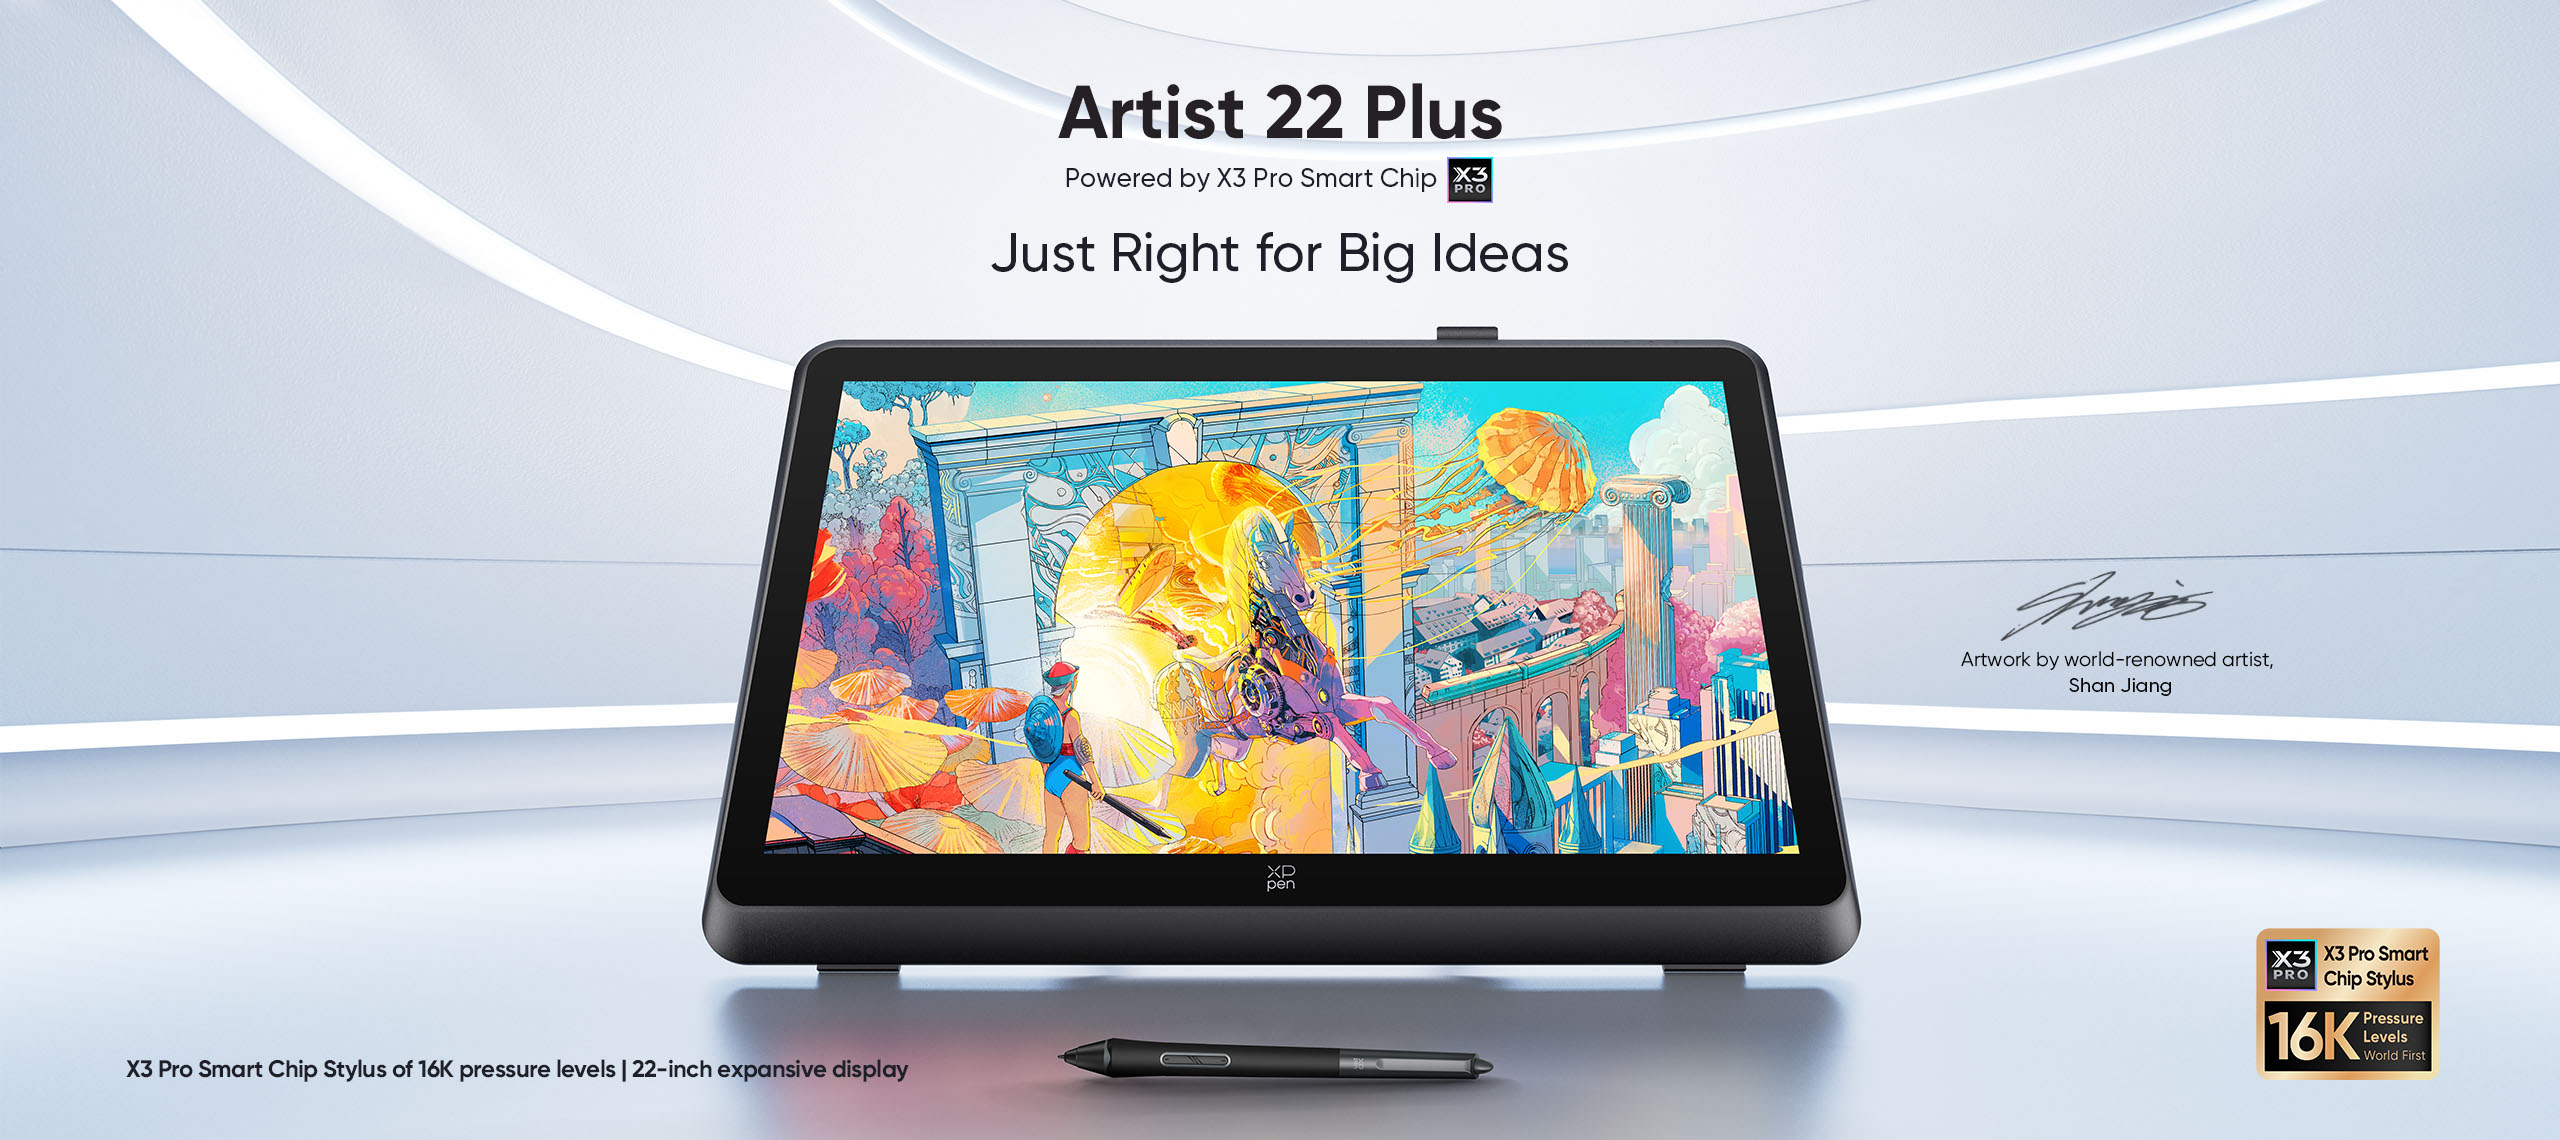
X3 Pro Pencil, 16K Pressure Levels, X-Paper Display.
A new benchmark for drawing on tablet.
A new benchmark for drawing on tablet.


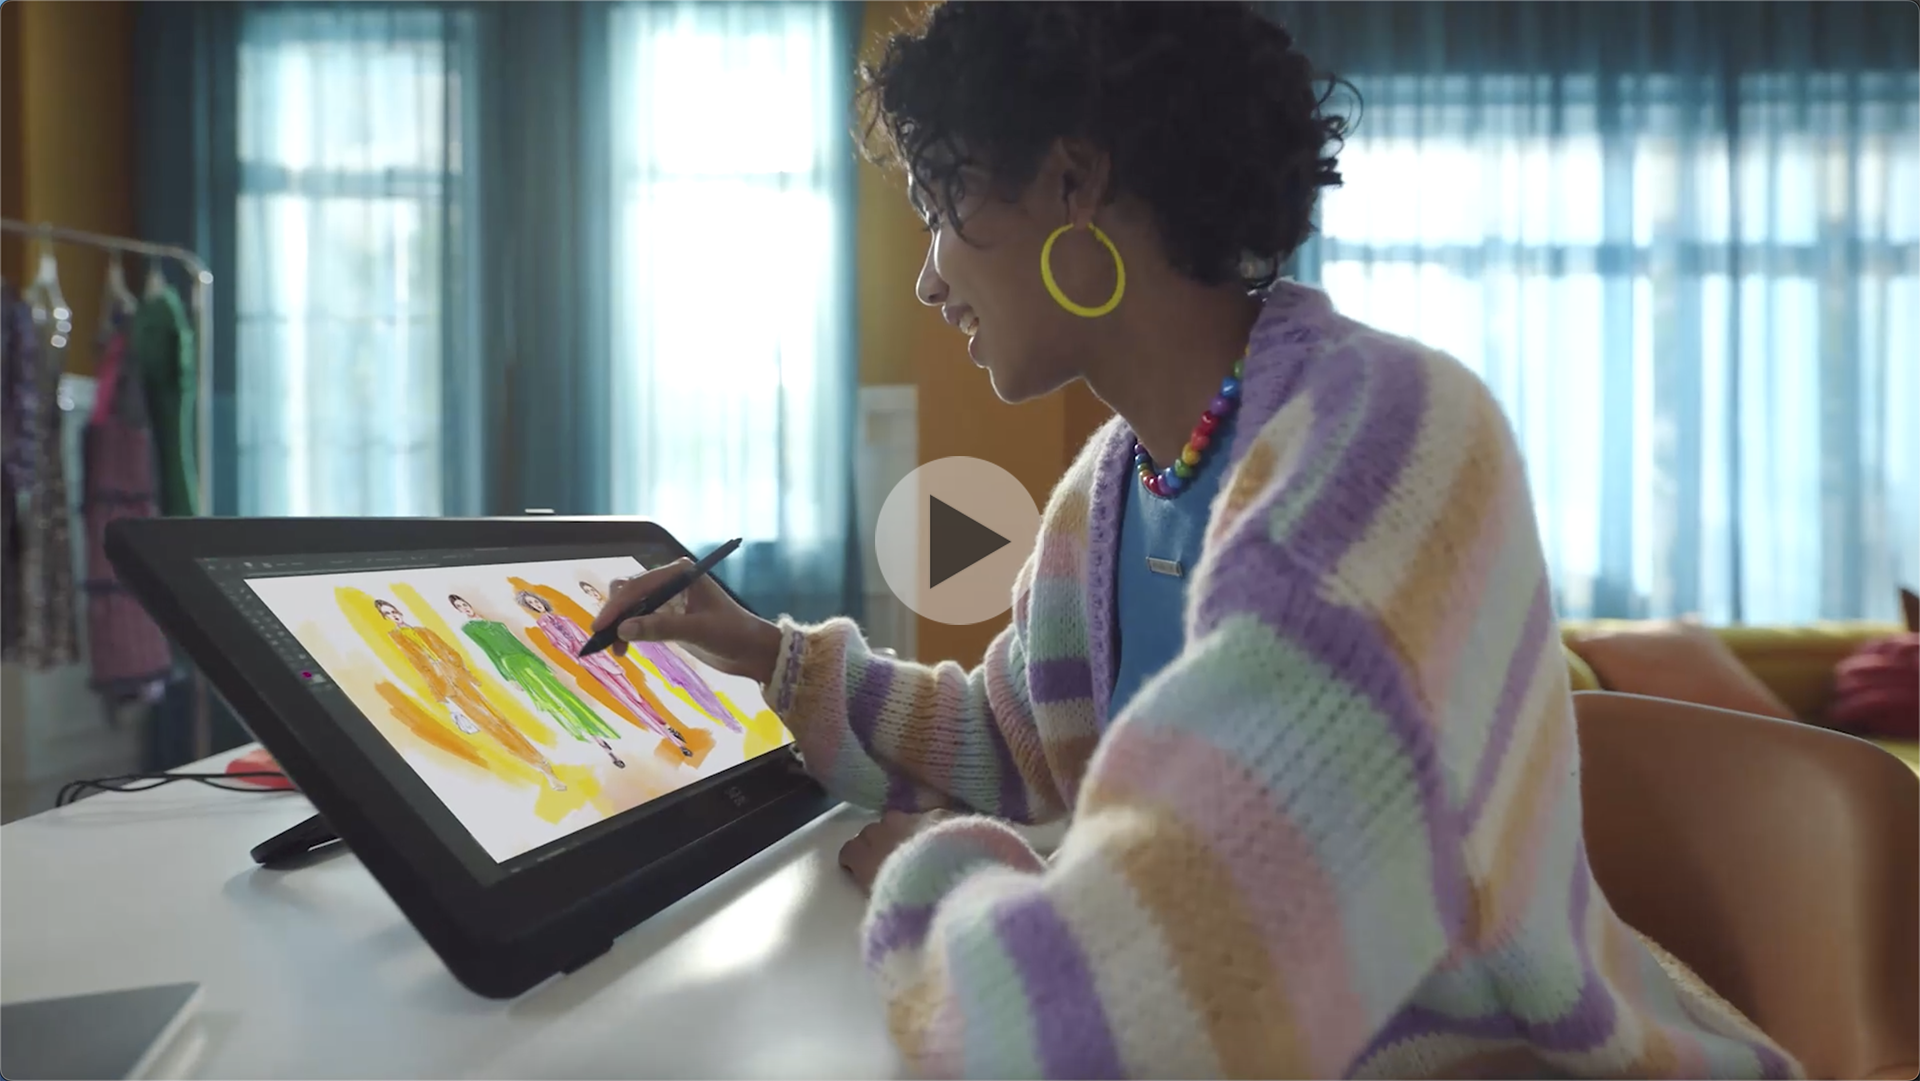
Artist Pro 16 (Gen 2)
NEW
Armed with an X3 Pro Smart Chip Stylus of 16K pressure levels 16-inch expansive display

Artist 12/16 Pen Display (2nd Gen) Le Petit Prince Edition
NEW
Le Petit Prince Edition, laminated anti-glare display, 127% sRGB, Android support. Ultra-precise X3-Smart-Chip Elite Plus stylus.
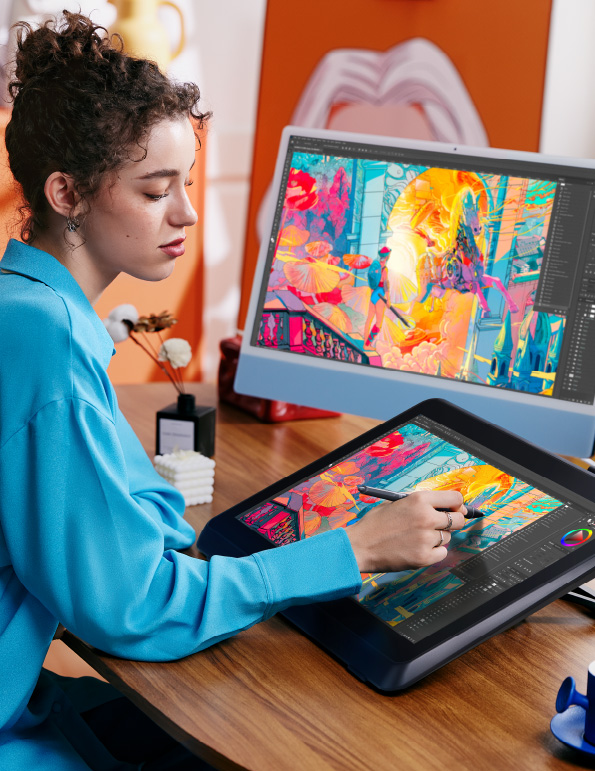
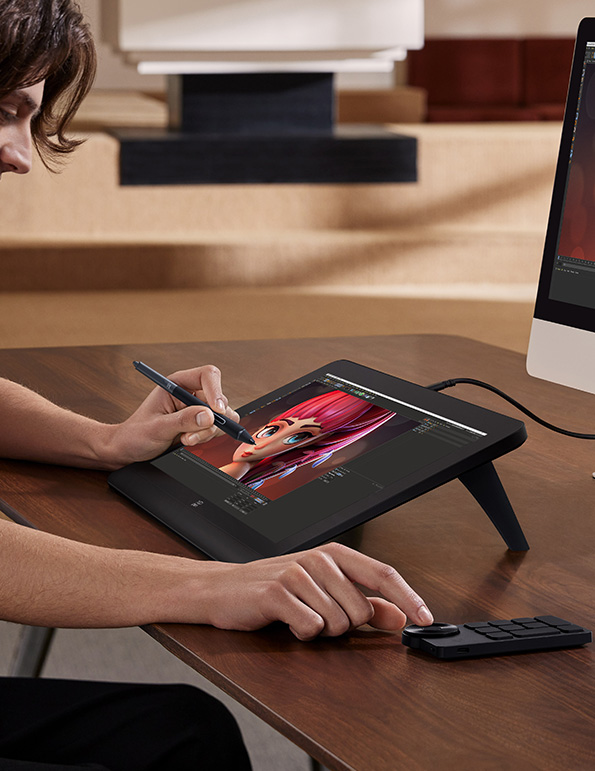
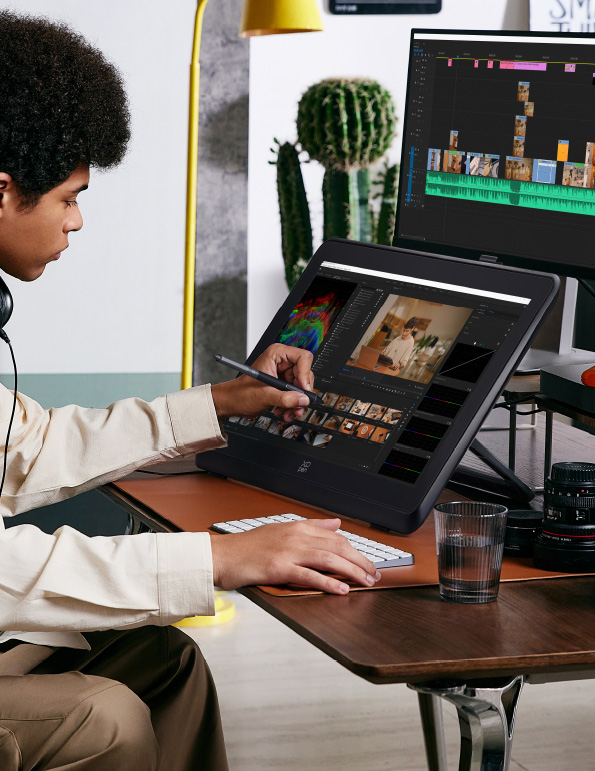
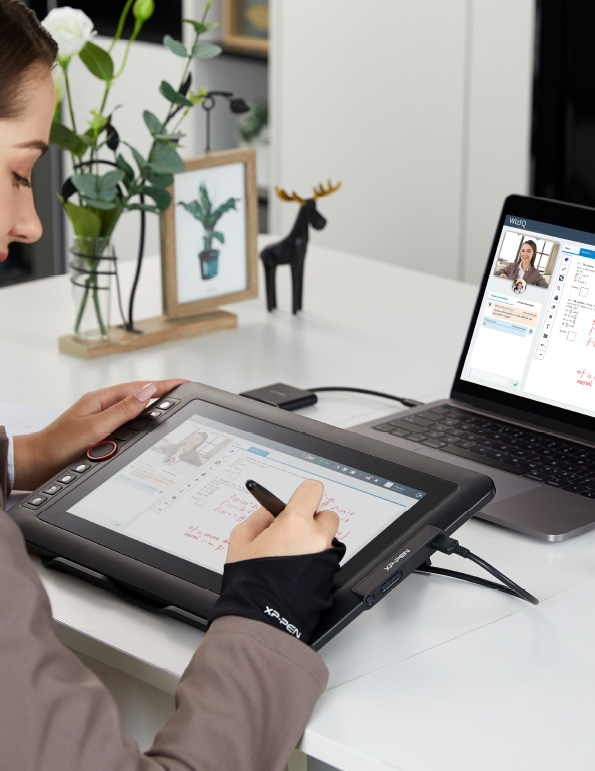
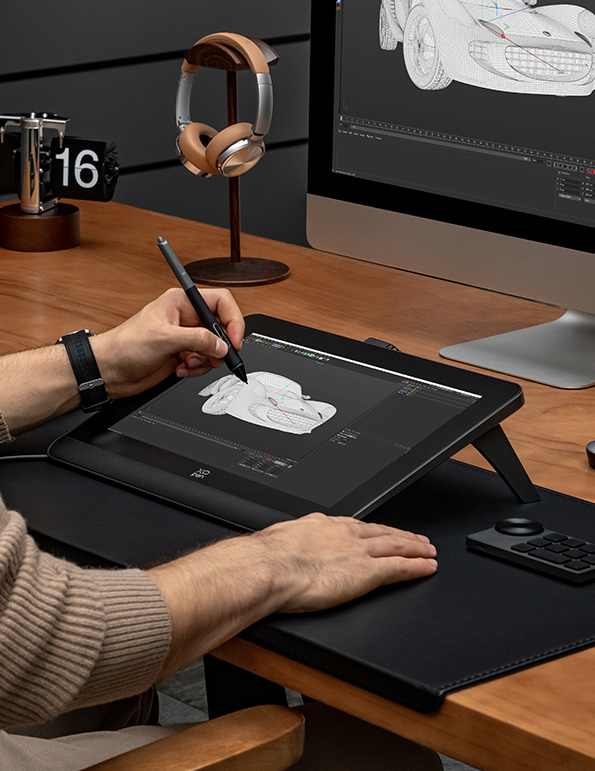
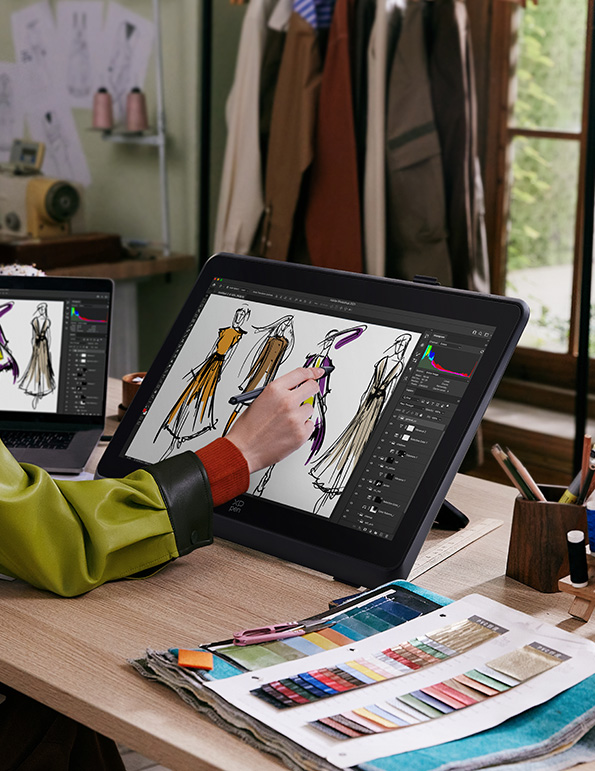
Product Applications
More Highlights


News

Illustrator Marumoru Talks Creating Hyper-Realistic Character Designs for ‘Genshin Impact’ With XPPen
Apr 17,2024 PM 17:36
Learn more

XPPen Partners with HoYoFair to Launch Genshin Impact Profession Inspiration Fan Art Contest, Exploring the Anime Aesthetics of Gaming World
Apr 01,2024 AM 10:51
Learn more

XPPen Sponsors the 51st Annie Awards, Celebrating Excellence in Animation
Feb 27,2024 AM 10:36
Learn more

XPPen Debuts Industry's First Professional Mobile Drawing Tablet - Magic Drawing Pad
Jan 22,2024 PM 14:13
Learn more


About XPPen
Originated from 2005, XPPen is now one of the top brands under HANVON UGEE, integrated with digital drawing products, content and service as a globally notable digital brand of digital art innovation.
Headquartered in Shenzhen, China, XPPen boasts 6 overseas subsidiaries (branches) and more than 50 agents, covering over 130 countries and regions with its products.
By virtue of its progressive digital handwriting technology after more than 10 years’ accumulation and innovation, XPPen believes that, innovative, trendy and leading products and ecosystem can bring more abundant visionary inspiration to the new generation artists and enthusiasts, encouraging them to courageously pursue dreams and realize their authentic self-expression.